HomeLab: Creating a Windows 2019 Virtual Machine with Hyper-V

Today, I'm creating a new Windows 2019 VM using Hyper-V for my home lab. The goal is to create a new SQL Server AlwaysOn and FCI cluster for testing.
So let's see how we can start just creating a VM for my domain controller (DC).
Official docs are here
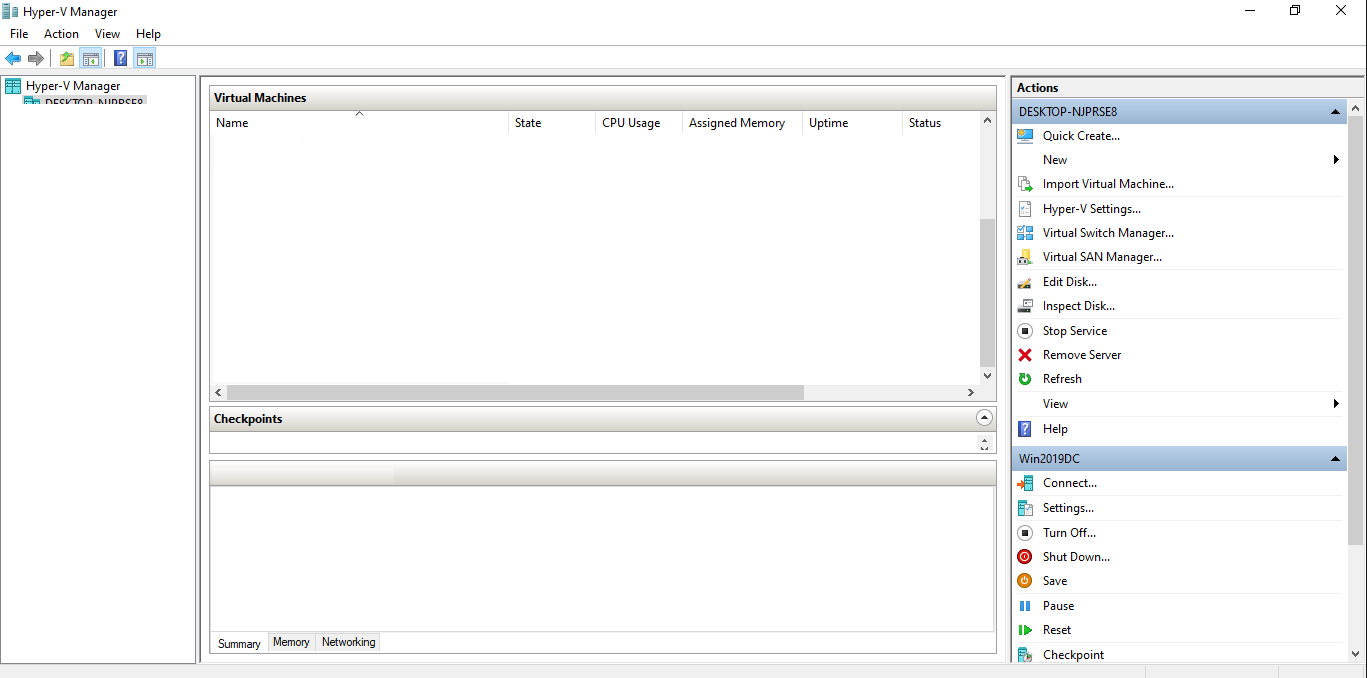
Open Hyper-V Manager and click on New -> Virtual Machine...
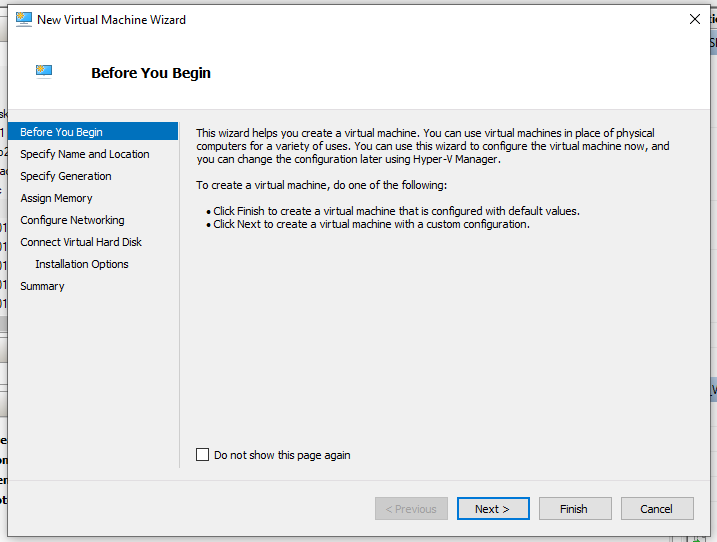
Click Next.
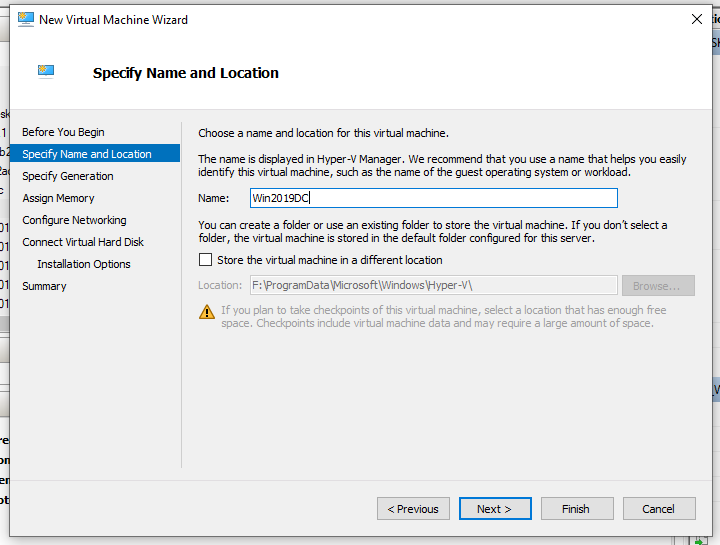
Submit a virtual machine name.
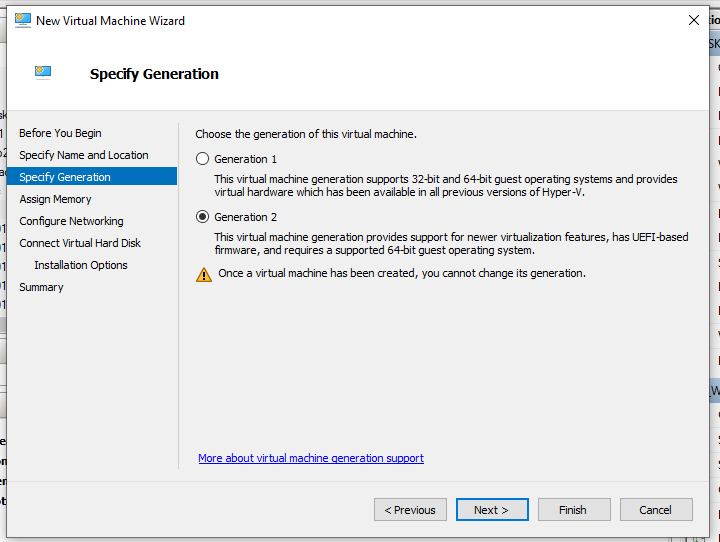
Select Generation 2.
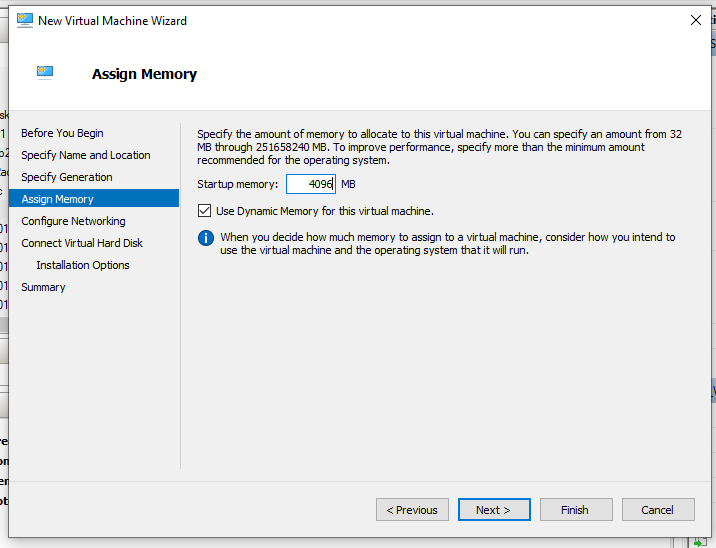
I assigned 4GB of RAM for this VM.
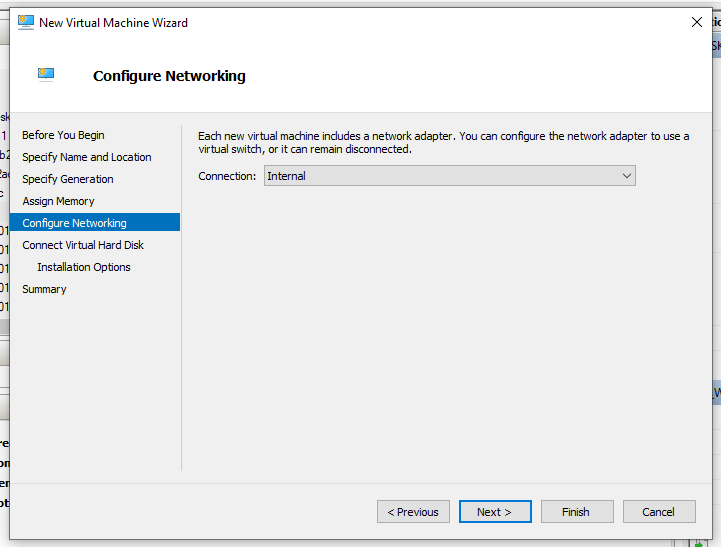
I selected internal network as internet is not actually required.
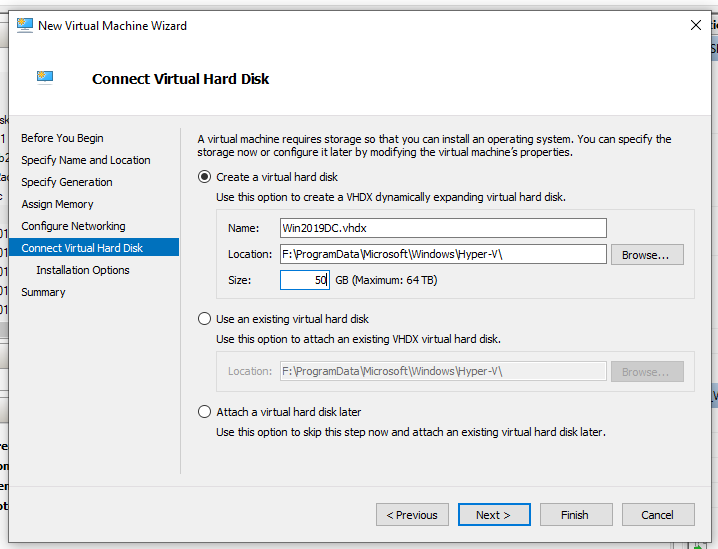
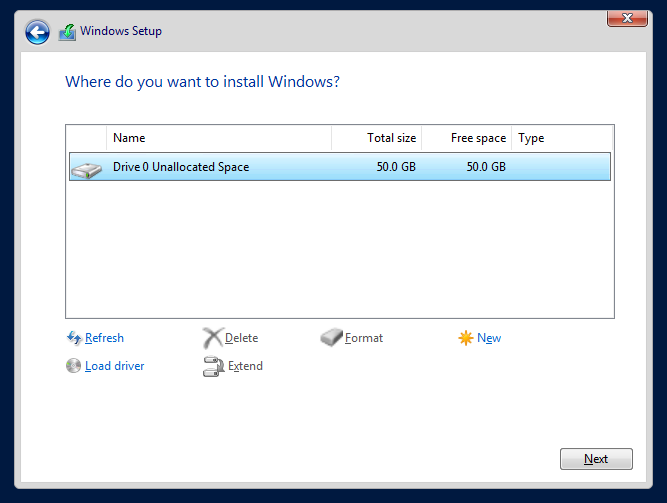
I assigned 50GB for the drive C:\
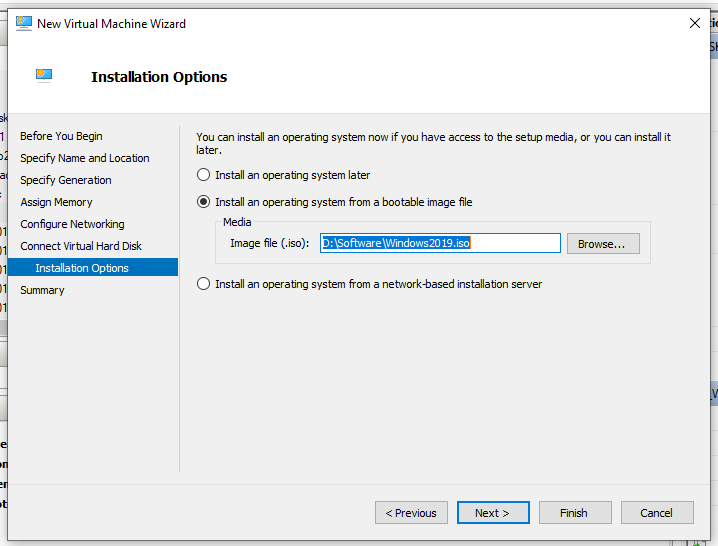
I selected the path where the instalation ISO is.
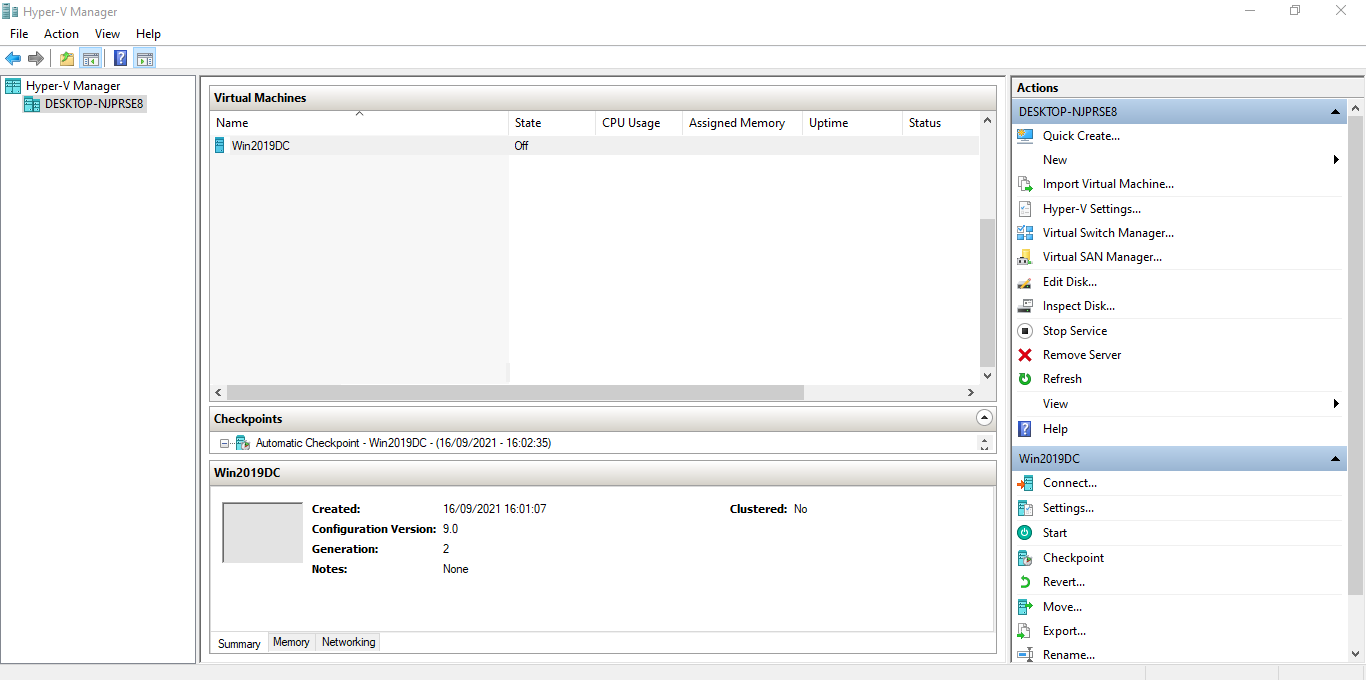
Once the VM was created, let's click on Connect.
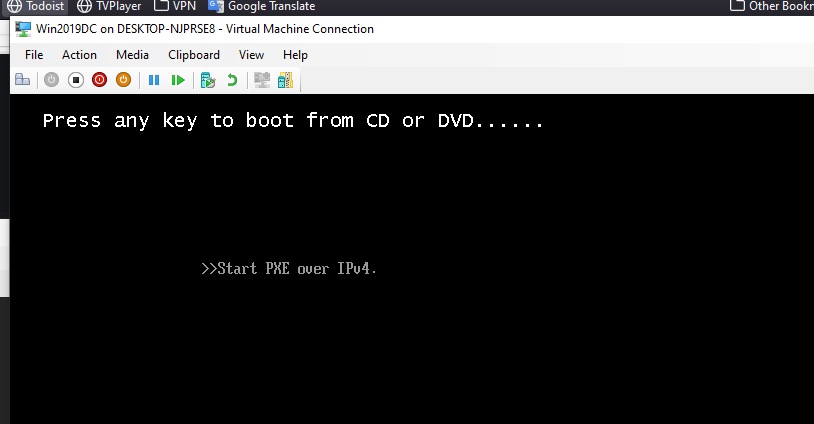
And now we click on START.

Press any key.
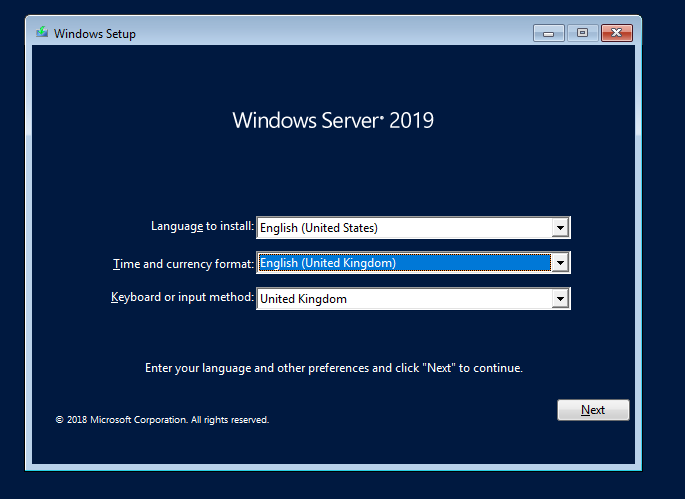
Select your region and keyboard from the dropdown.
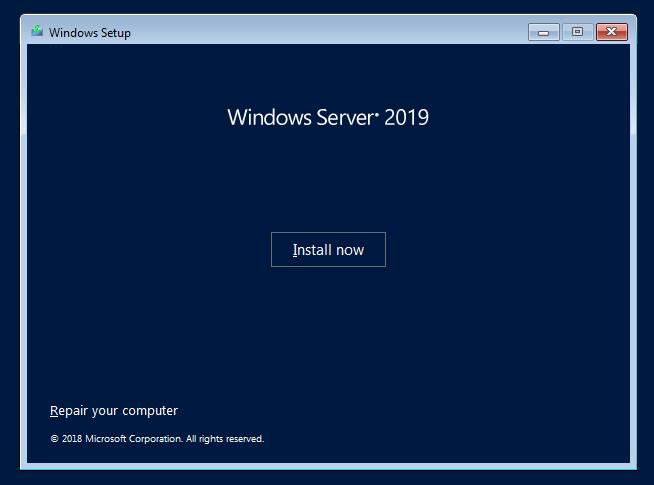
Click on Install Now
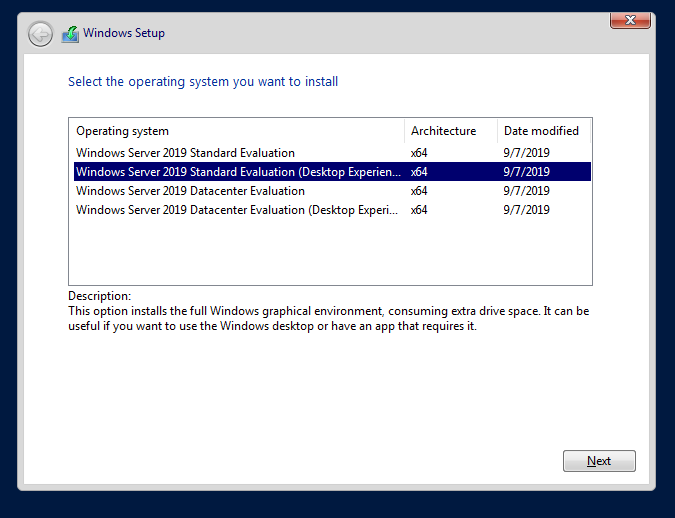
I selected Windows 2019 Standard (Desktop Experience).
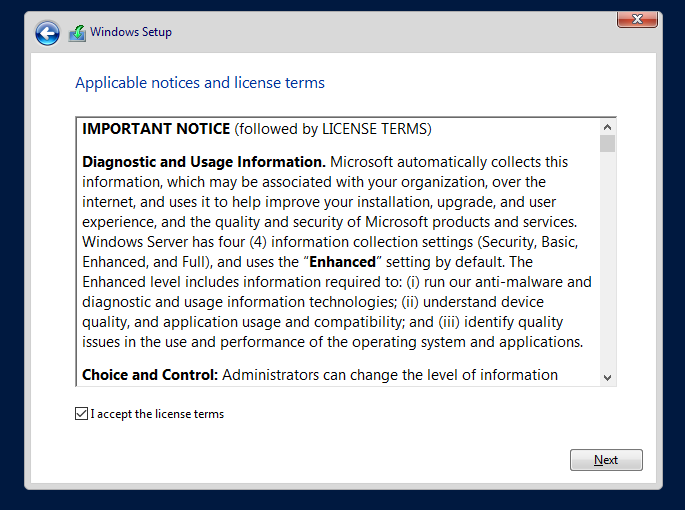
Accept the terms.
Click on Custom: Install Windows only.
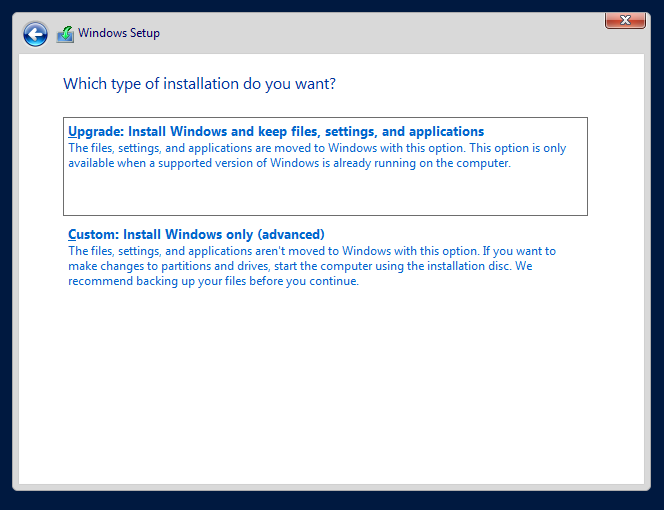
Click Next.
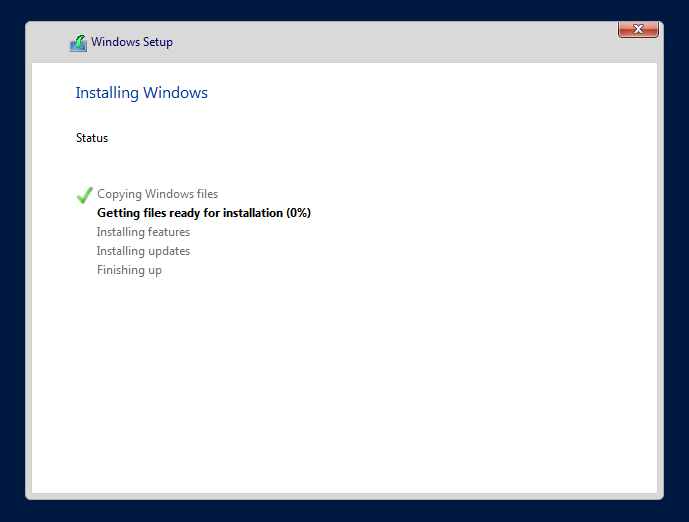
It depends on the hardware but mine took around 20mins.
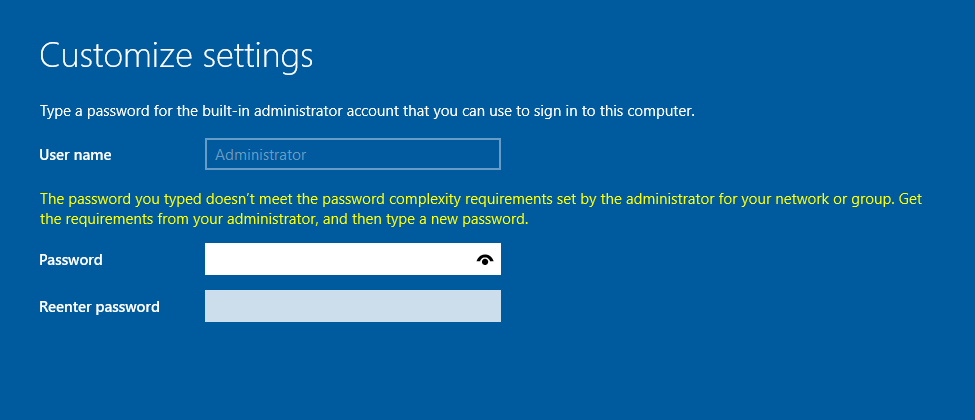
and provide a secure password for the administrator user.
Once the installation has completed. Use the crendentails to login.
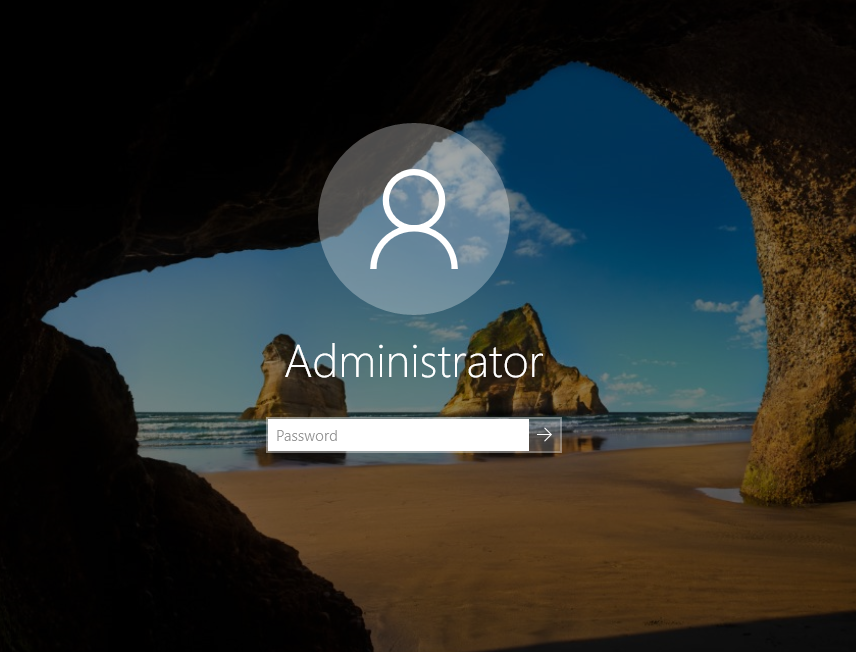
and we should see the following.
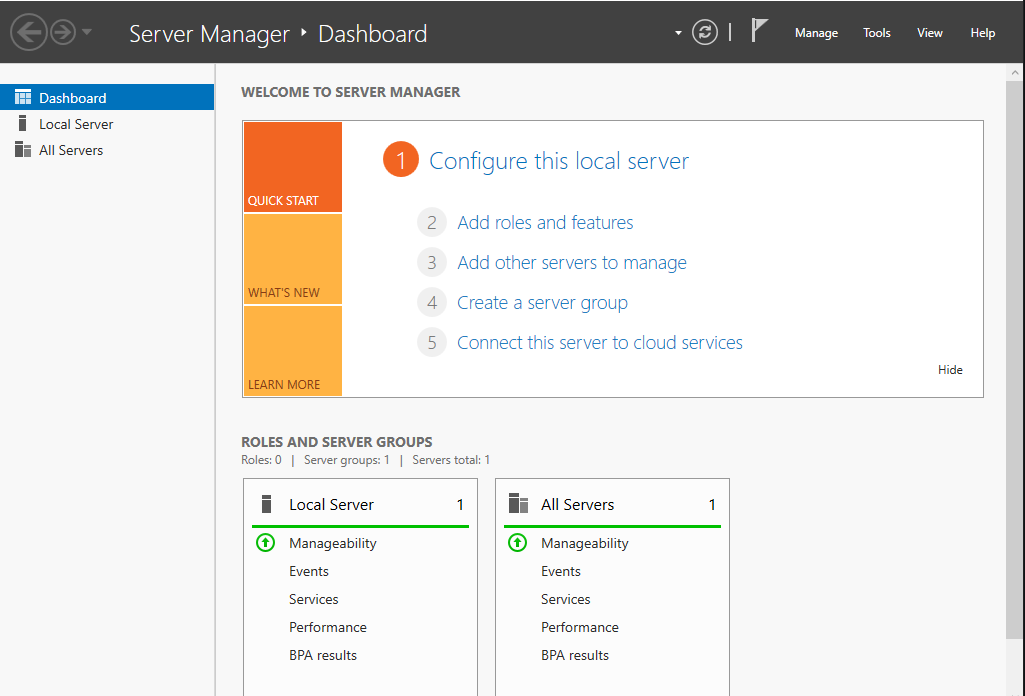
and that's it. In the next article we will see, how to configure a DC for our home lab.
Want to thank me?