
How to install SQL Server 2019 on Windows Server 2019.

In a previous post, we learned about installing Db2. Now I'm installing SQL Server.

I've download SQL Server Developer Edition from here.
However, now you don't get the ISO or installation files anymore, what you get is a downloader.

So, If the target server does not have access to the internet, you would need to download first and then upload them.
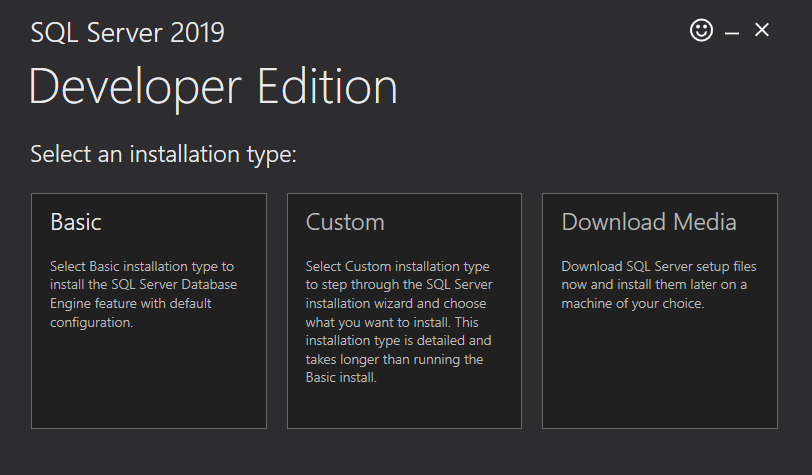
To download the ISO, we double click on the SQL2019-SSEI-Dev.exe file, and the click on Download Media.
Once we have uploaded the files into to the server, we can start the installation.
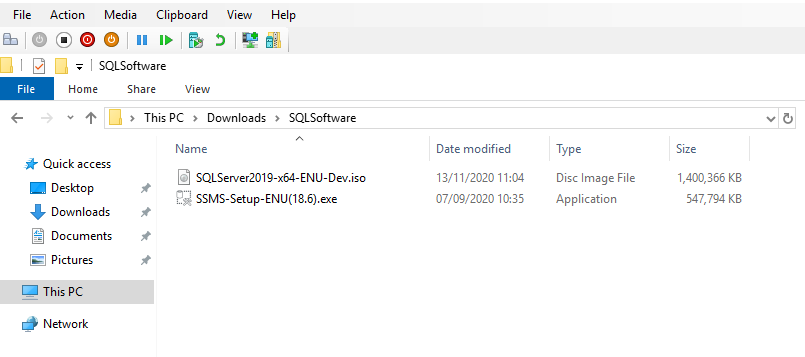
To install SQL Server we double click on SQLServer2019-x64-ENU-Dev.iso, this mounts the ISO and see the following.
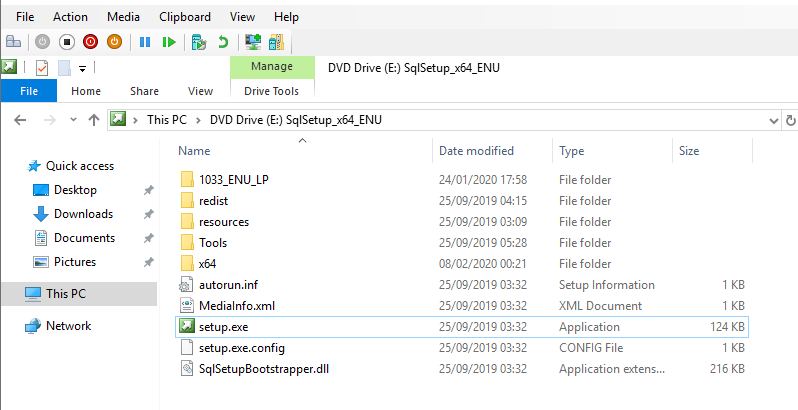
Click on Setup.exe
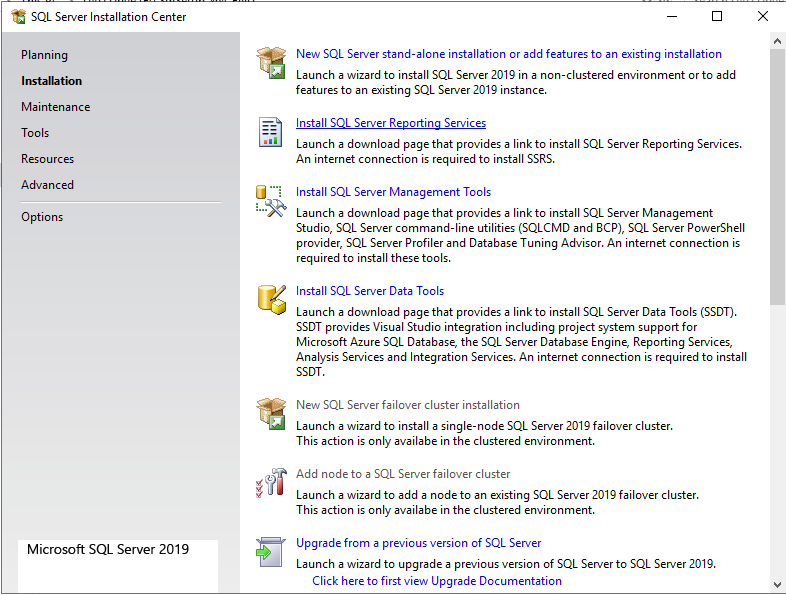
Then we click on Installation and New SQL Server stand-alone installation or add features to an existing installation.
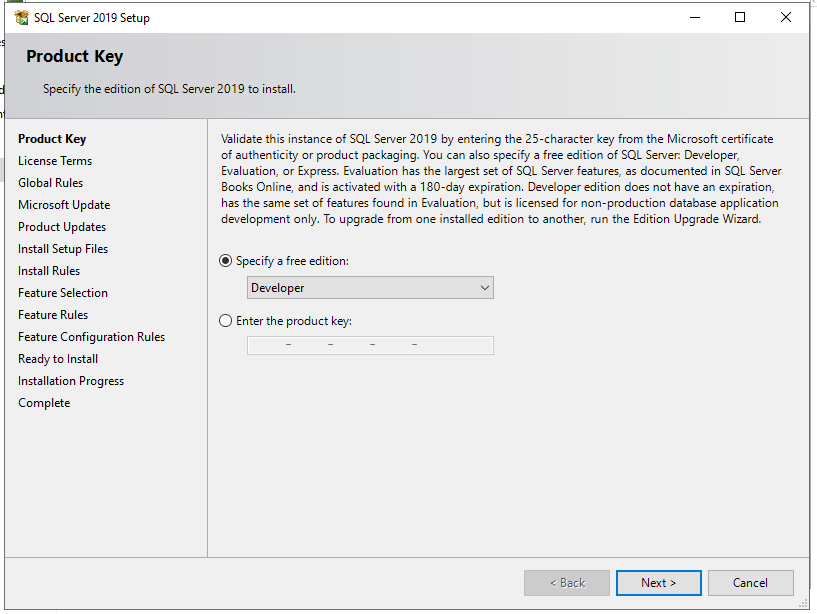
Developer Edition is selected already so click Next.
Read :-D, accept the license terms and click Next.
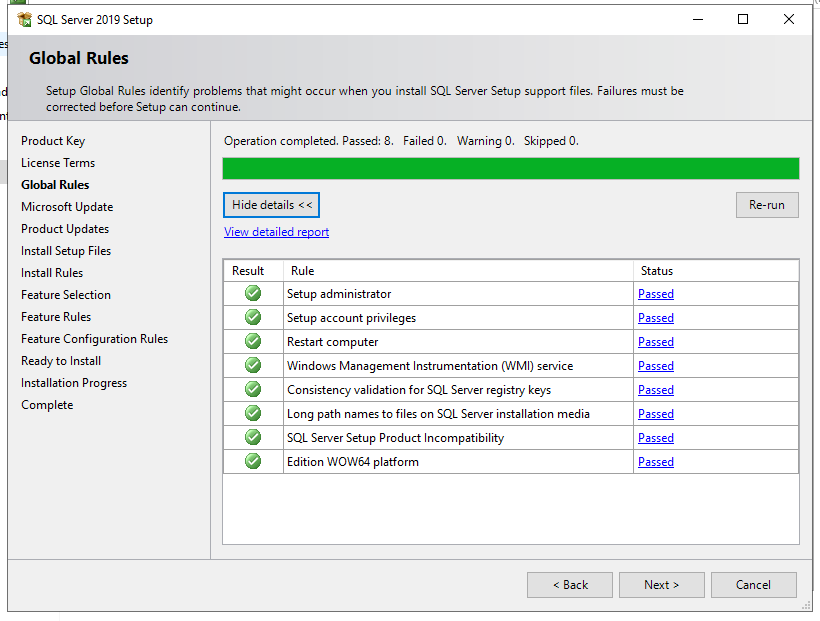
No warnings so we click Next.
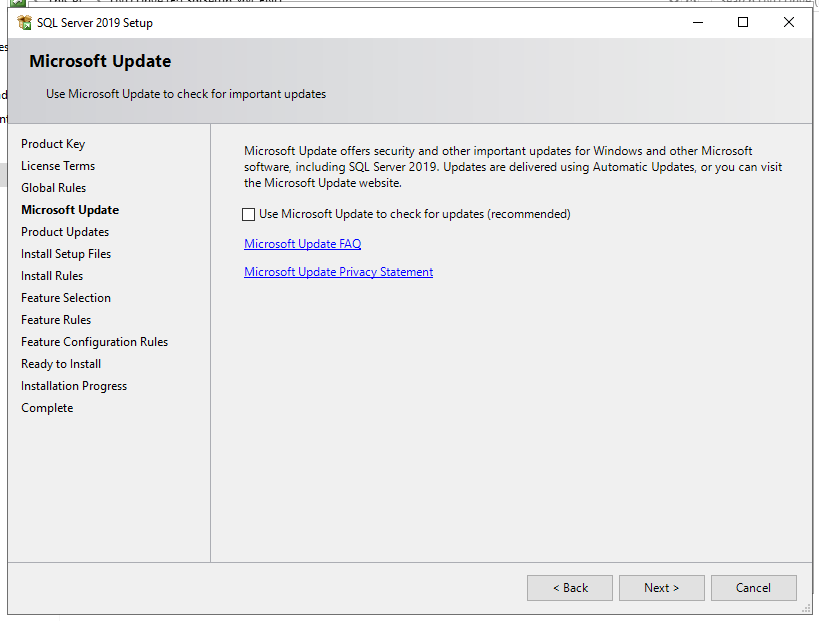
Leave it unchecked and click Next
Click Next.
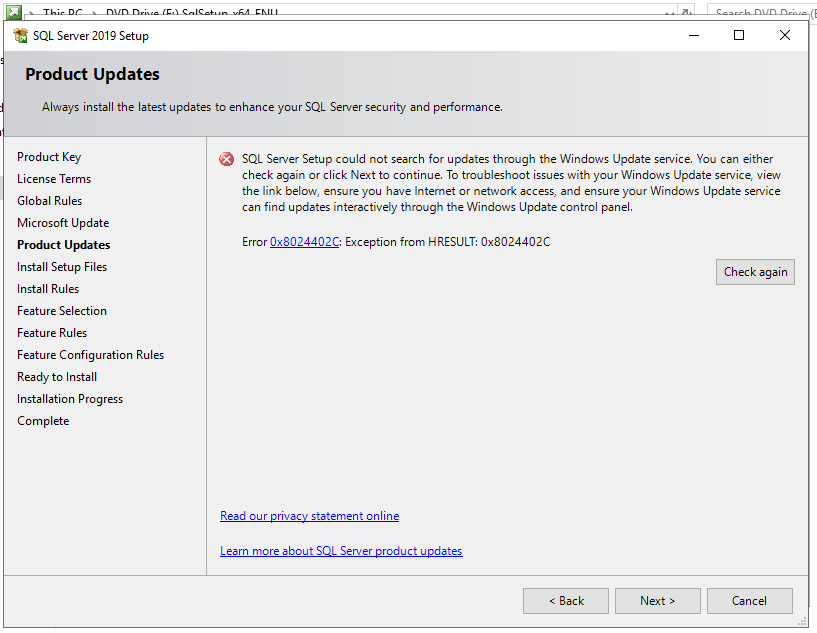
There is 1 warning, but since this is for a Homelab, we click on Next

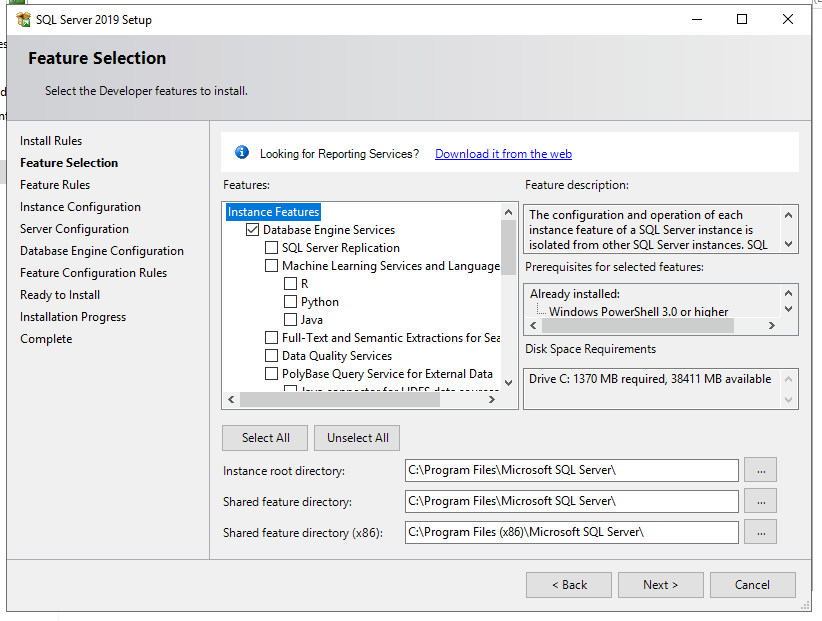
Select the following Instance features.
- Database Engine Services.
- Client Tools
- Integration Services.
- Client Tools Backwards Compatibility.
It is recommended to install SQL Server on another drive, but since this is a sandbox and there is only one disk, I will install it on C:\.
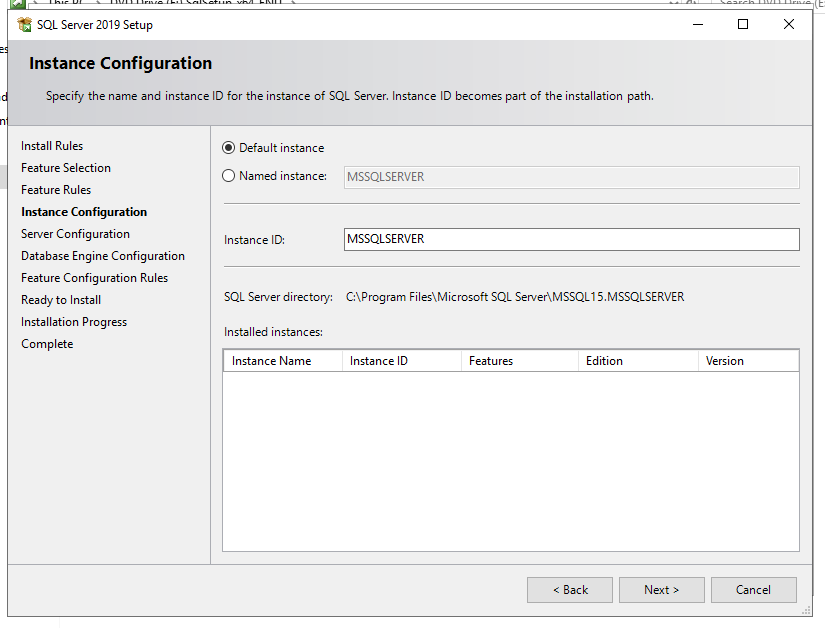
I'll keep the default SQL Server instance name MSSQLSERVER.
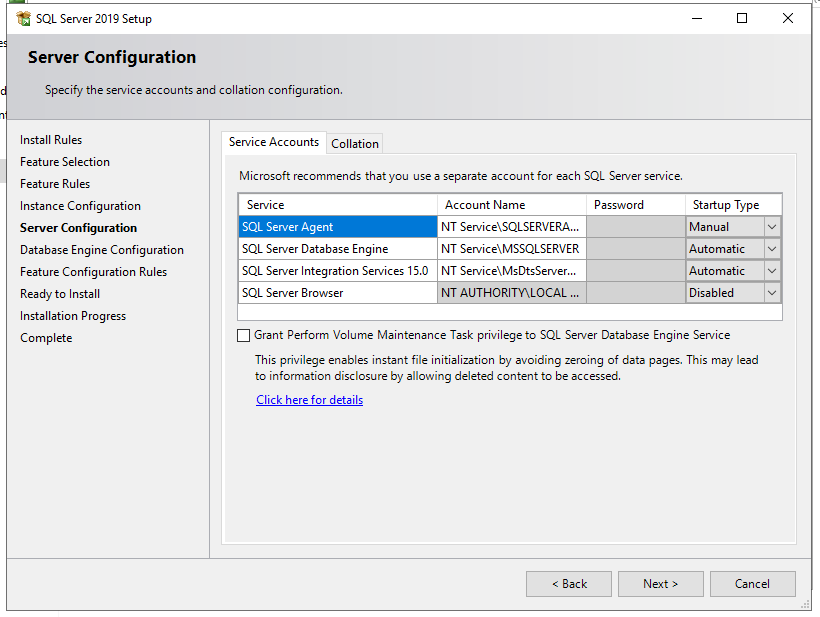
This is a single instance installation so I'll keep the default service accounts. So I click on Collation.
One thing to notice here is, if you read the Microsoft Official documentation about collation, you will read the following...
Default server-level collation is SQL_Latin1_General_CP1_CI_AS.
However, as you can see on the following screenshot mine is Latin_General_CI_AS
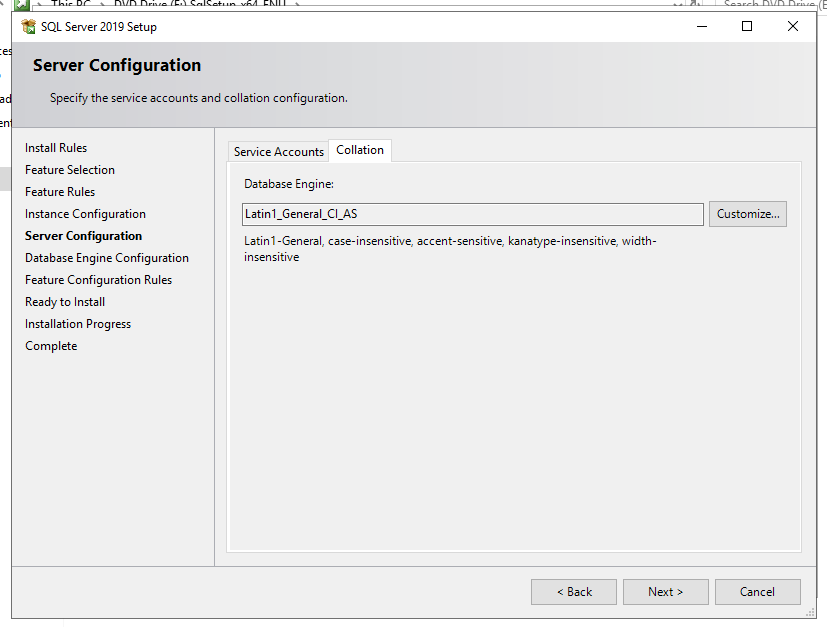
So why is that? It is because my Windows System locale is English UK and the collation for this is Latin_General_CI_AS.
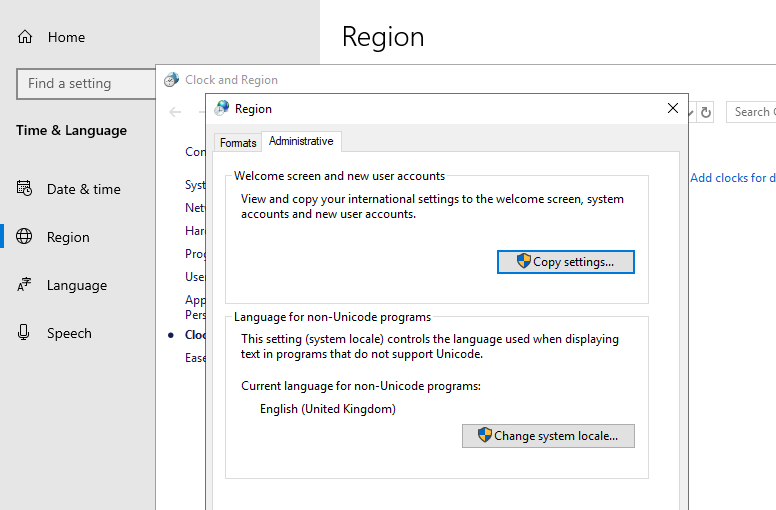
This is specified here.
During SQL Server setup, the default installation collation setting is determined by the operating system (OS) locale.

So once we've confirmed the SQL Server collation value, we can can continue the installation.
Note: Once installed, SQL Server instance collation cannot be changed unless the system databases are rebuilt.
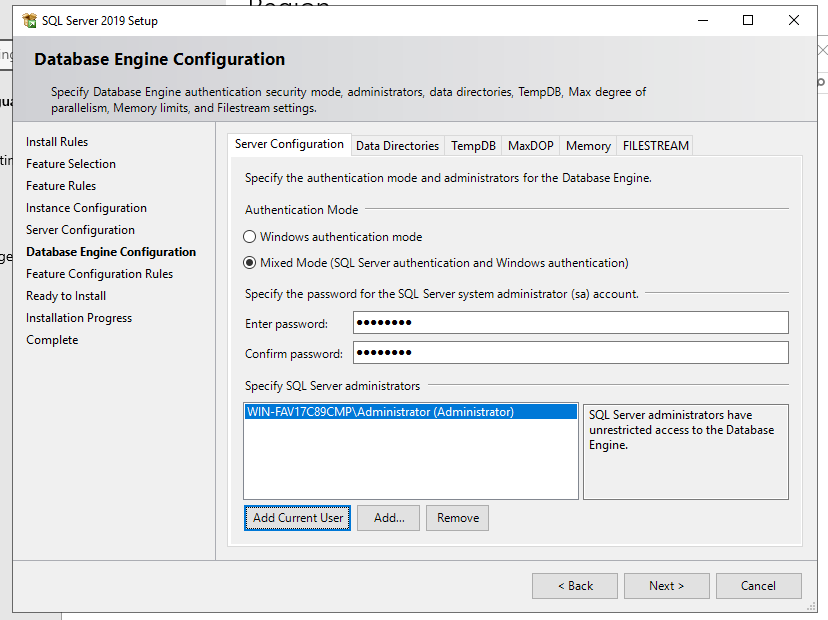
Next we can set the authentication mode. Click Next.
- Windows Authentication mode.
- Mixed Mode
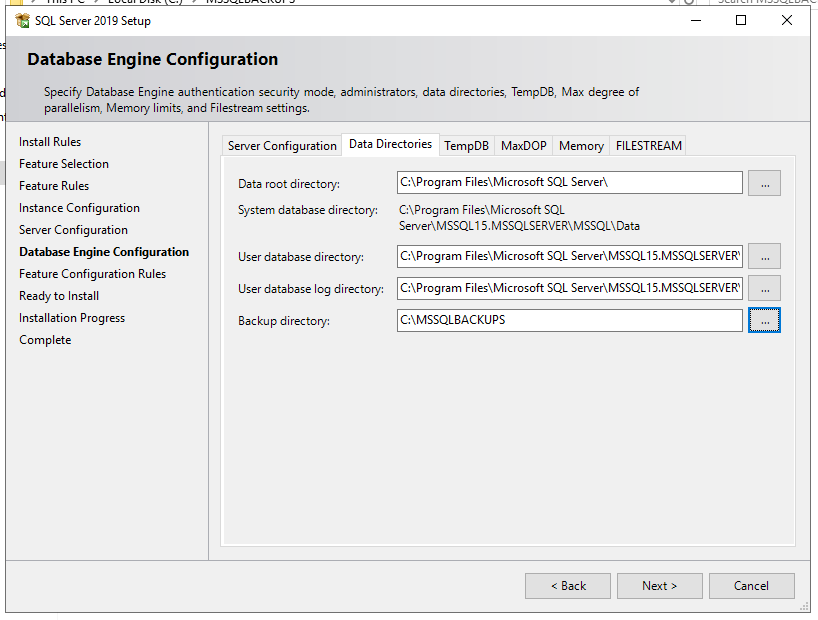
Here we can configure data directories if, for example, we have more than 1 disk. In my case, I've just created a different folder for the backup directory. Click Next.
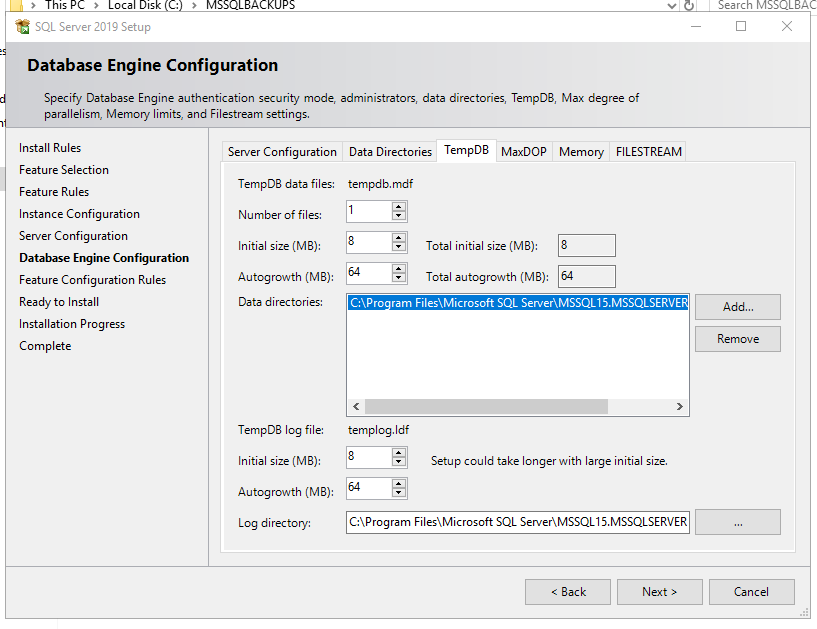
Here we can configure TempDB. I'll leave this all by default, but here you can find more information about how to do it properly.
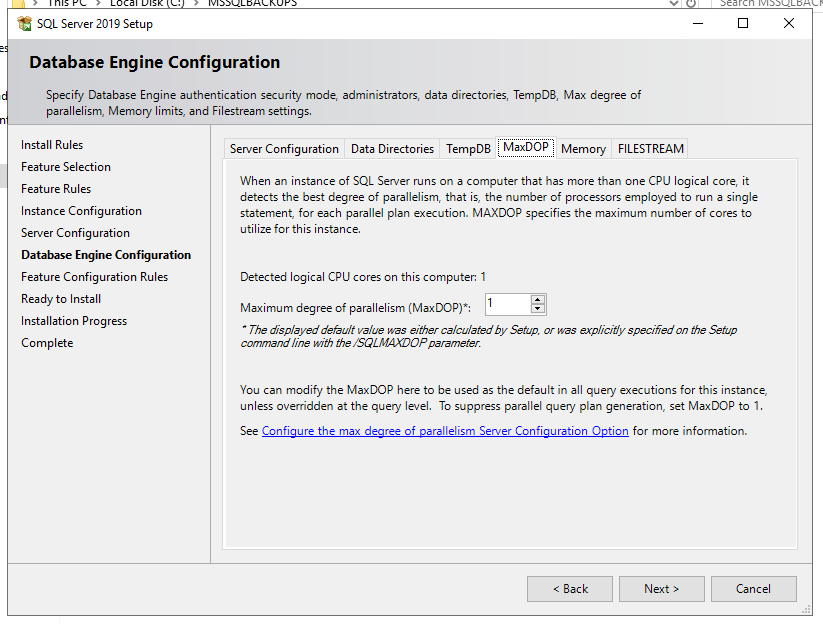
This part is to set max degree of parallelism (MAXDOP). Here more information. I'll leave 1 as I only have 1 CPU.
Here we can set the Memory of SQL Server. I only have 4 GB of Memory, but in the future, I'll add more memory so, for the time being, I'll leave it as it is. This parameter can be changed later. Click Next.
Well, finally we are ready to install. It is a good practice to review the summary.
Click Install.
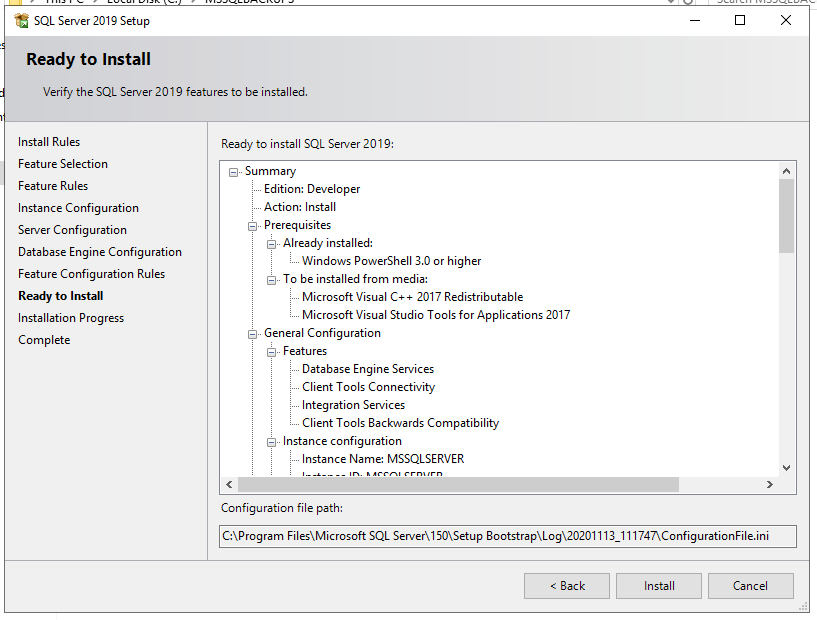
All this configuration will be saved in the following file, therefore, in the future, we can install SQL Server using a configuration file.
C:\Program Files\Microsoft SQL Server\150\Setup Bootstrap\Log\20201113_111747\ConfigurationFile.iniThen we should see all features with status Succeeded.
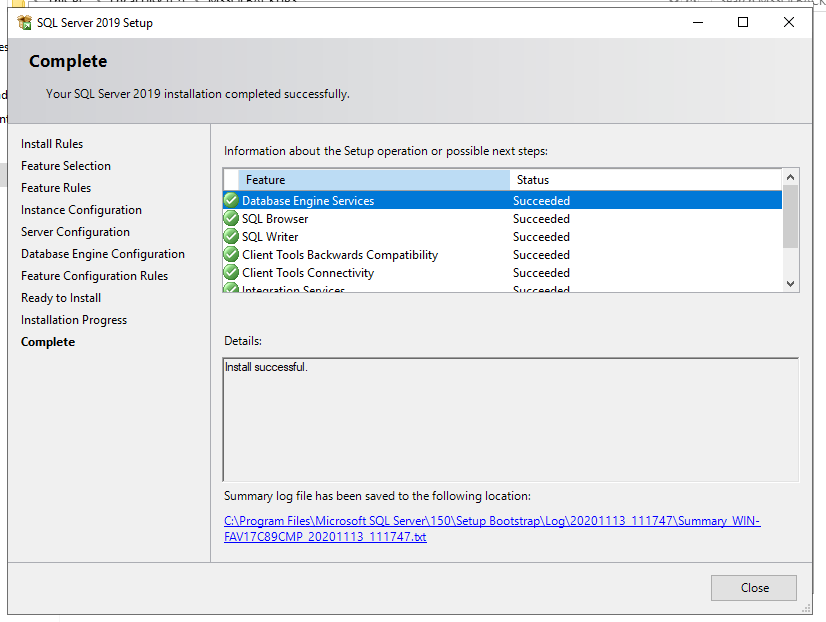
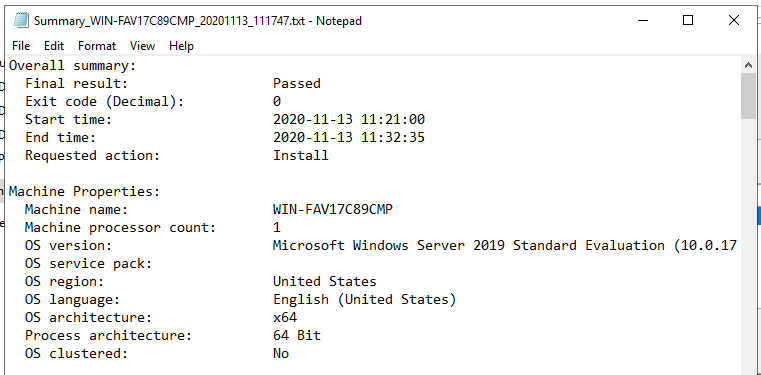
Just to be sure the installation lets check the Summary.
SQL Server Management Studio (SSMS) is not included anymore as part of the instance features, so here is the How to install SSMS post.