
HomeLab: Creating a Domain Controller on Windows 2019.

Now that we know how to create a VM using Hyper-V, let's configure a domain controller which is required for our HomeLab SQL Server Always On installation.
There is a really helpful guide already here, but I'll be using Windows 2019 instead.
So, once our VM is up and running,
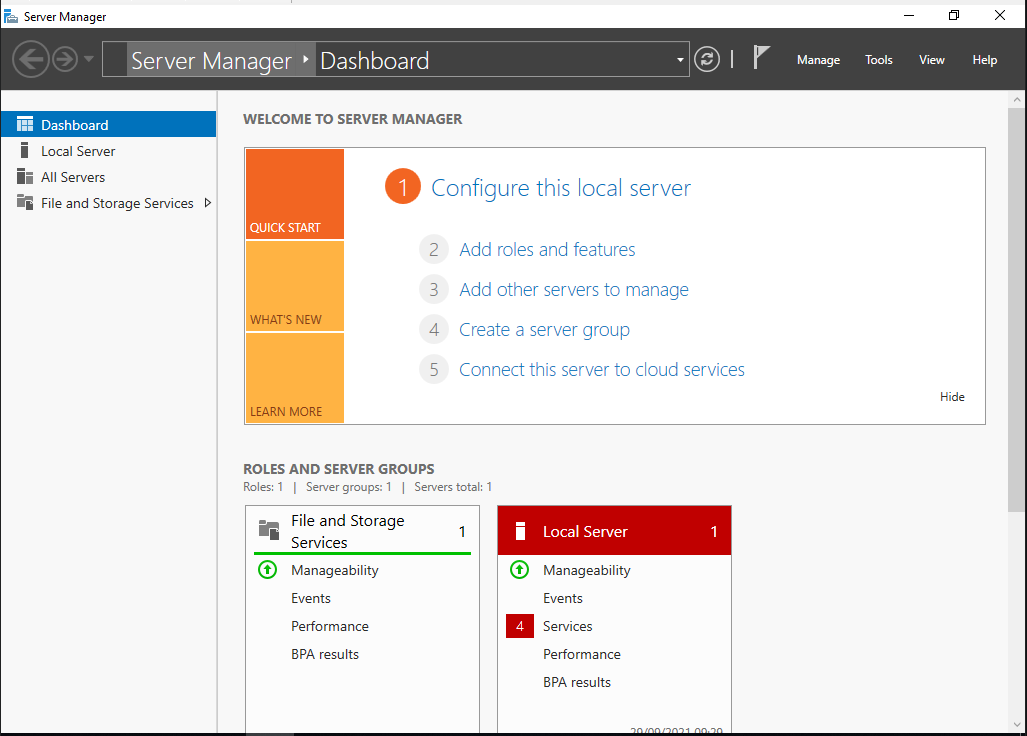
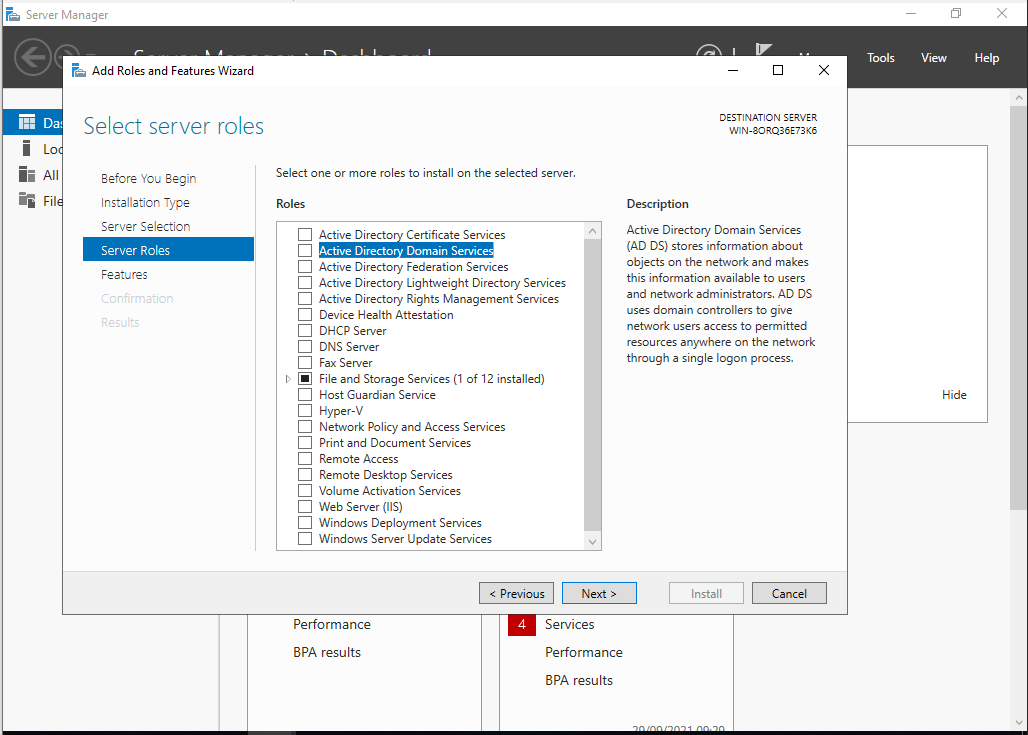
Let's open the Server Manager and click on Add roles and features.
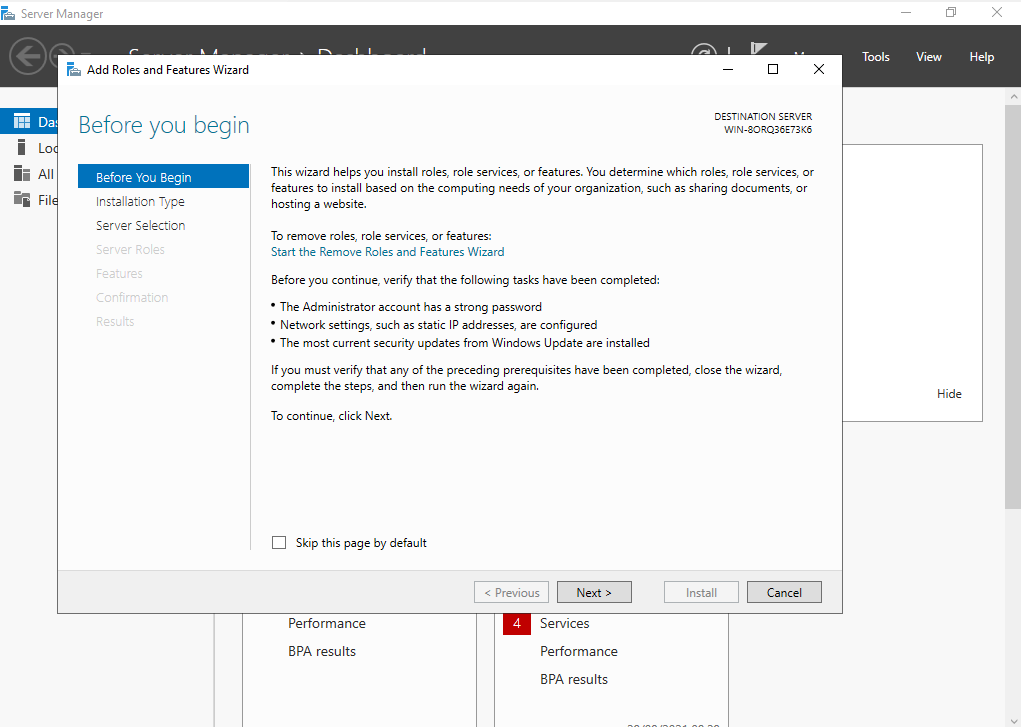
Click Next.
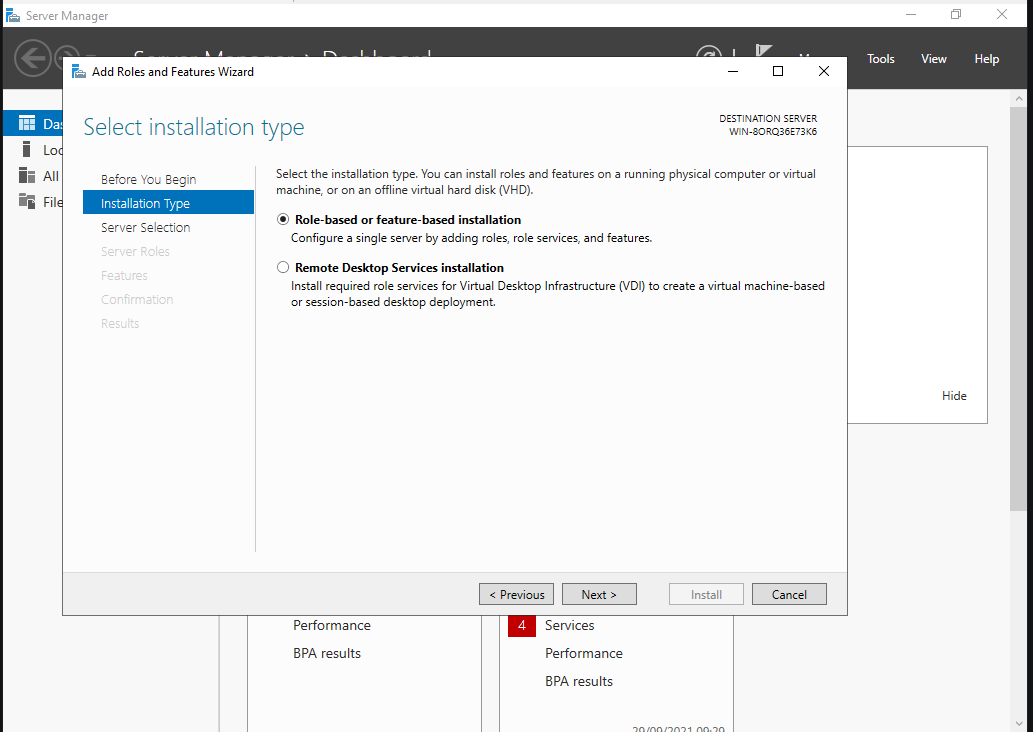
Click Next.
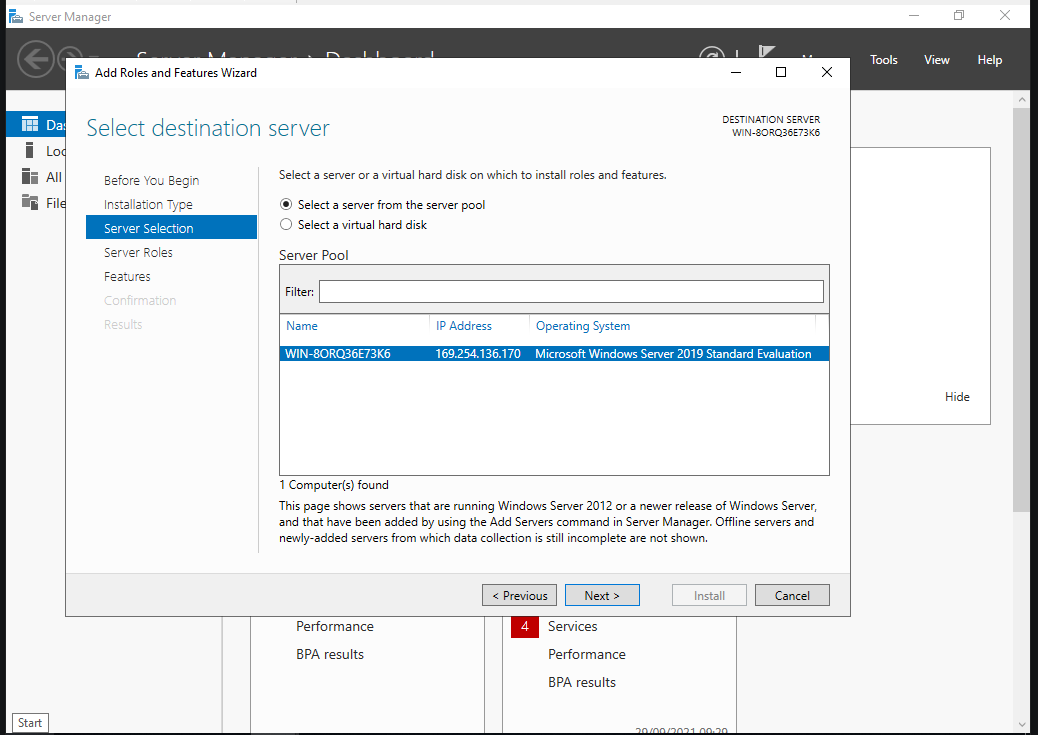
Click Next.
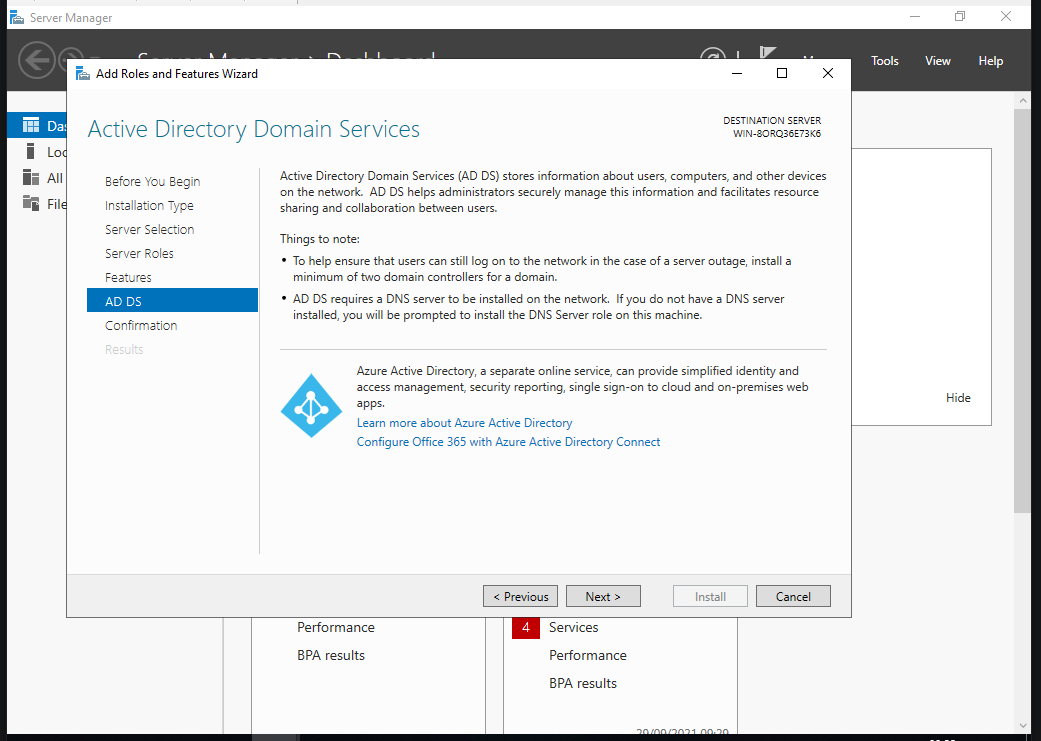
Click on Active Directory Domain Services.
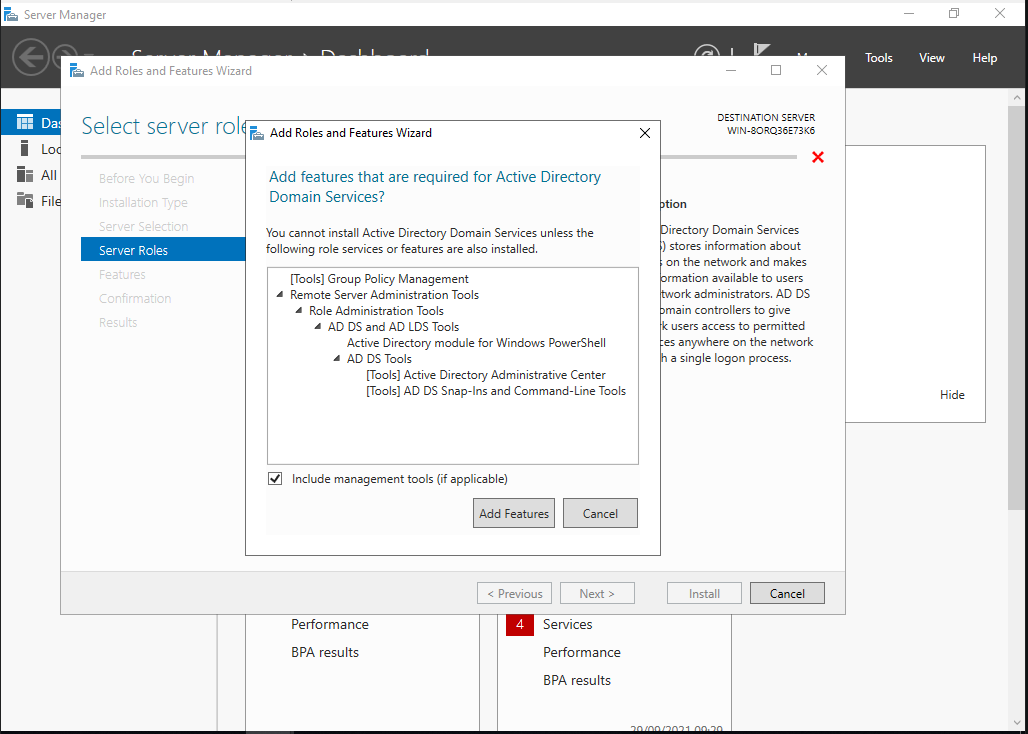
Click on Add Features.
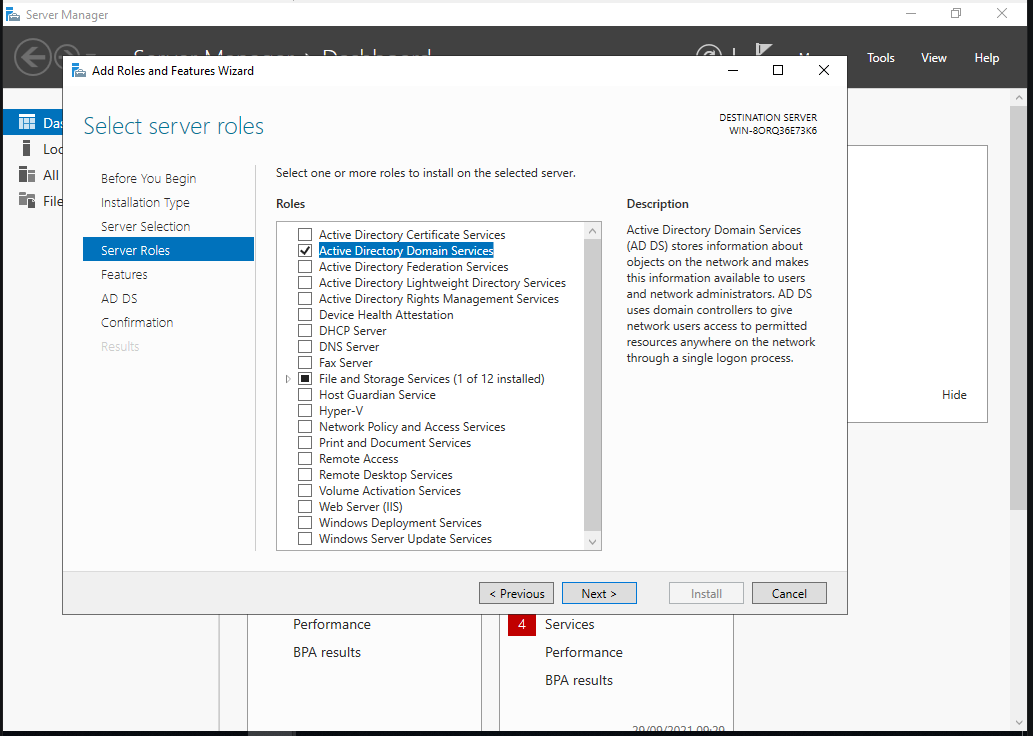
Once is clicked, click Next.
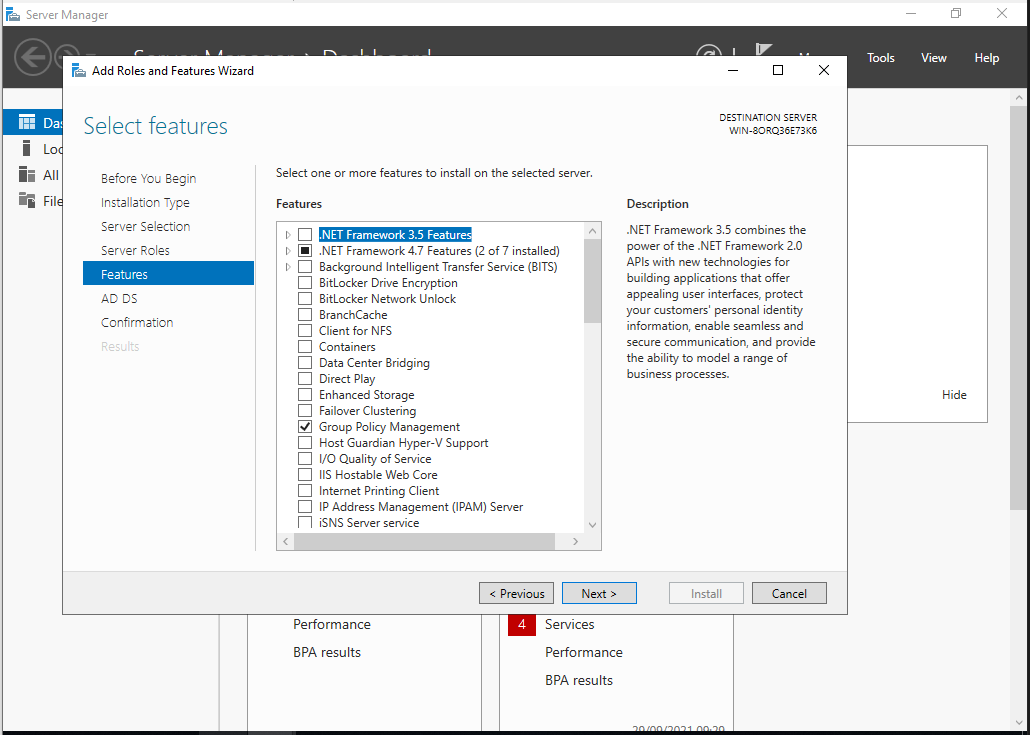
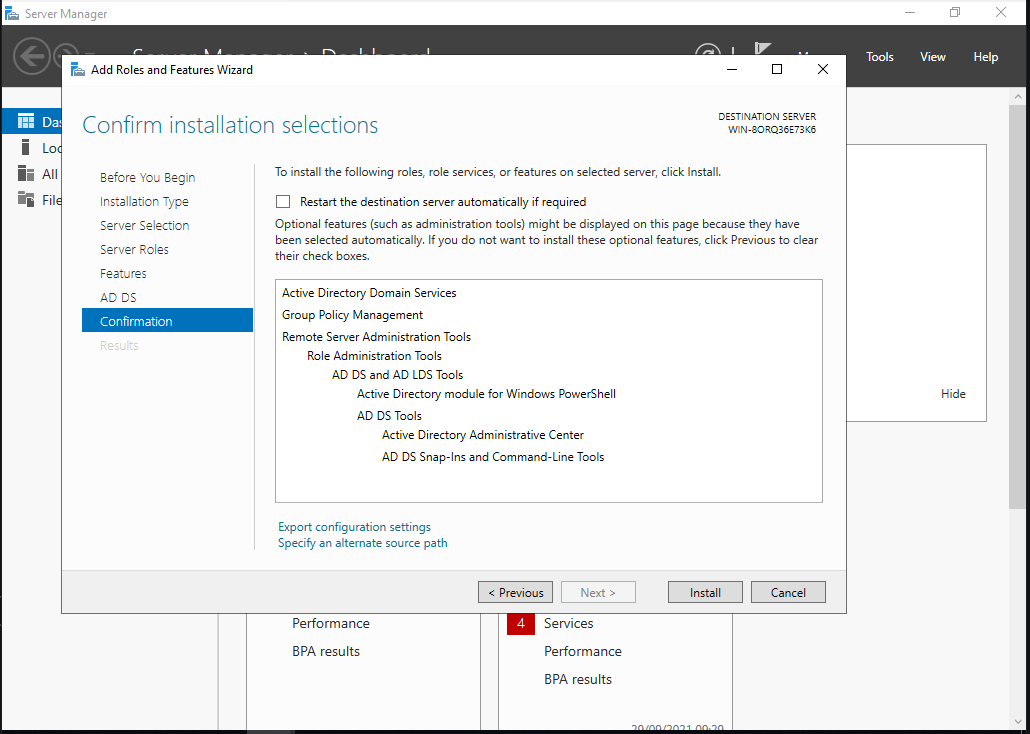
Click Next.
Click Next.
Click on Specify an alternate source path.
And add the path to your Sources.
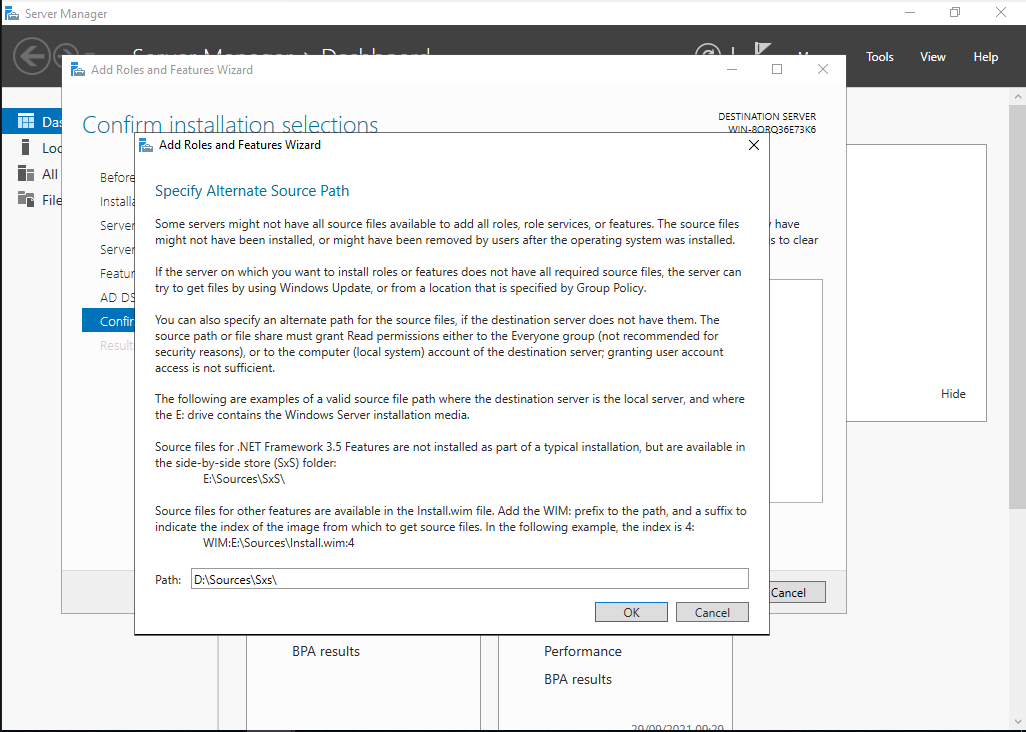
Click Install.
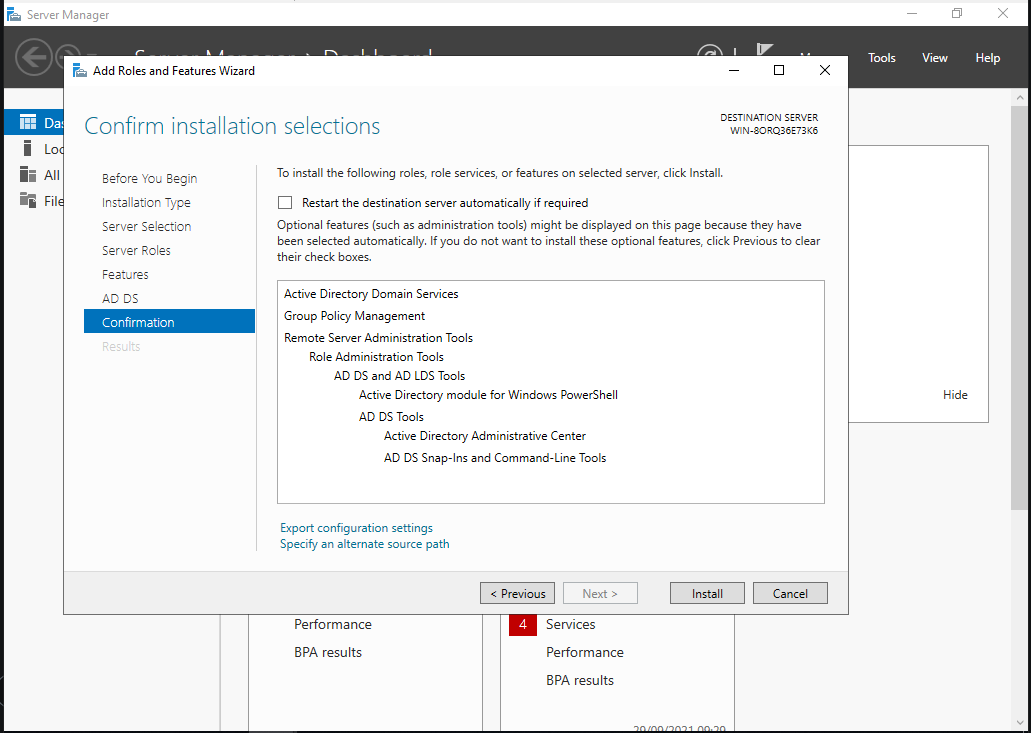
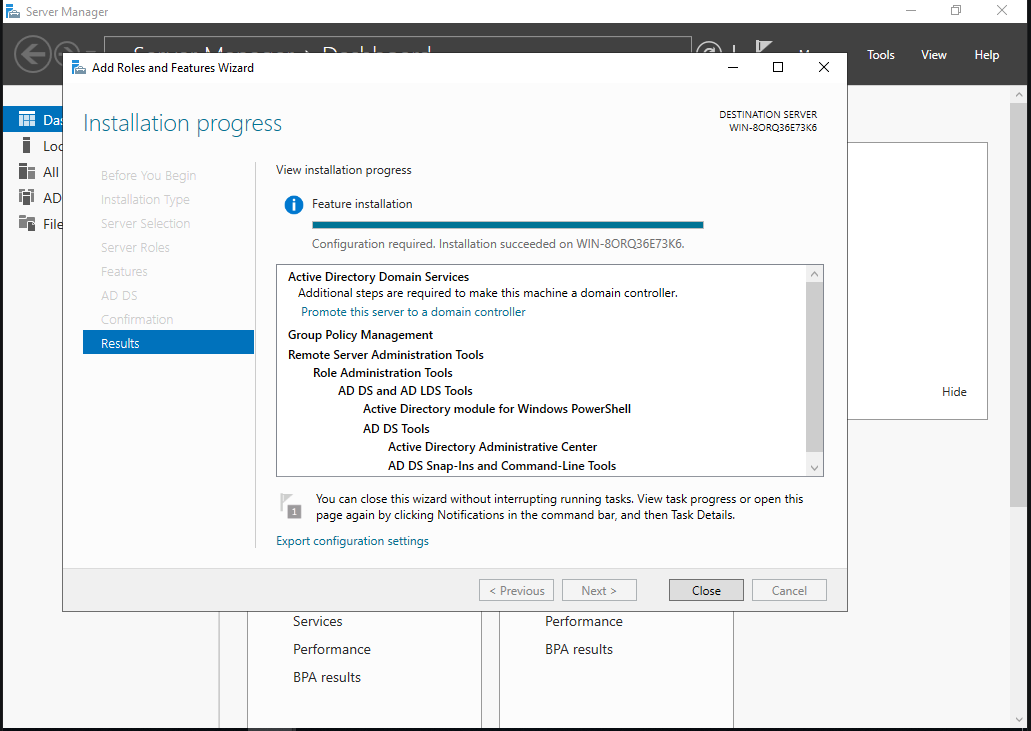
Once the installation is complete, click on Promote this server to a domain controller.
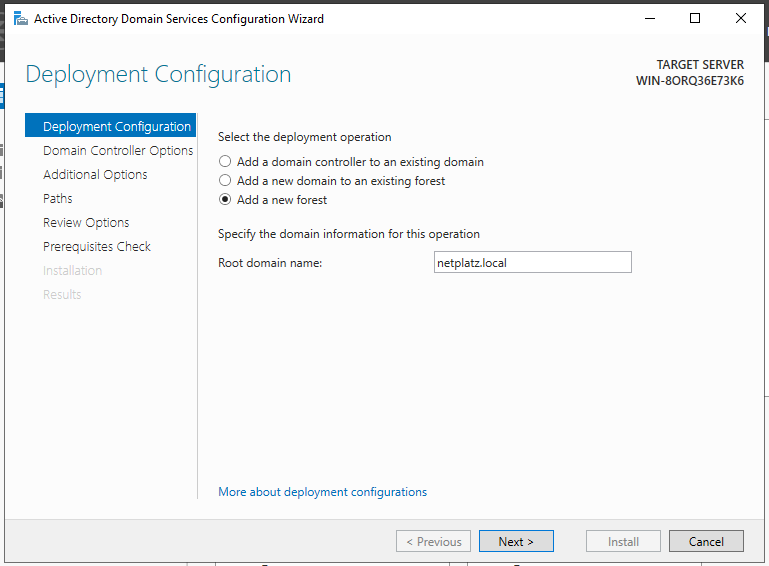
Click on Add a new forest and specify the domain name: netplatz.local
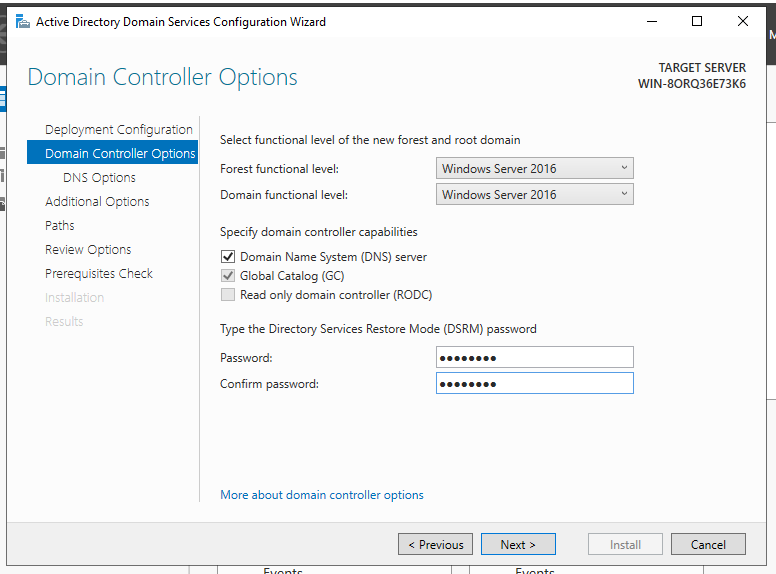
Click on Domain Name System (DNS) server and provide a password.
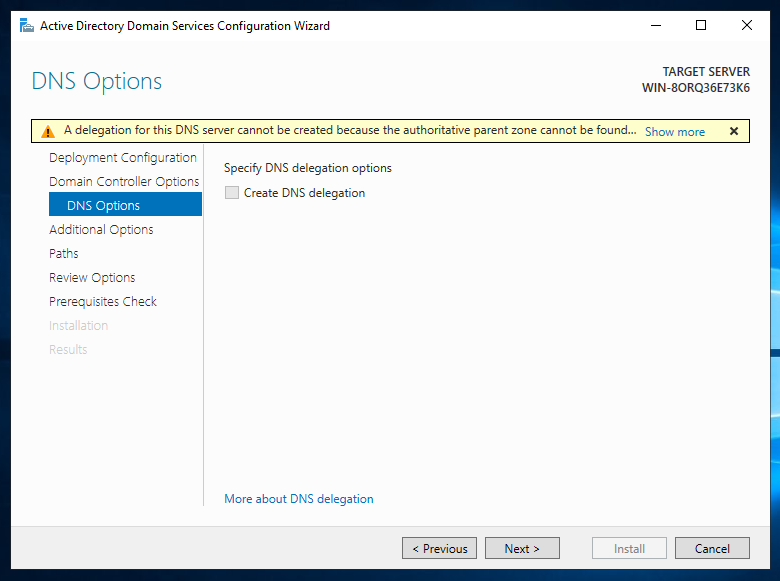
Click on Next.
Provide the domain name, as shown below.
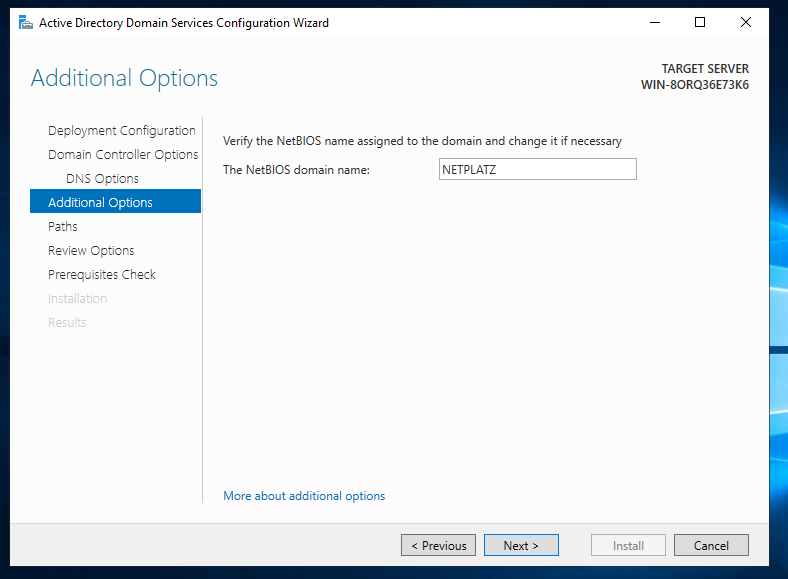
Click Next.
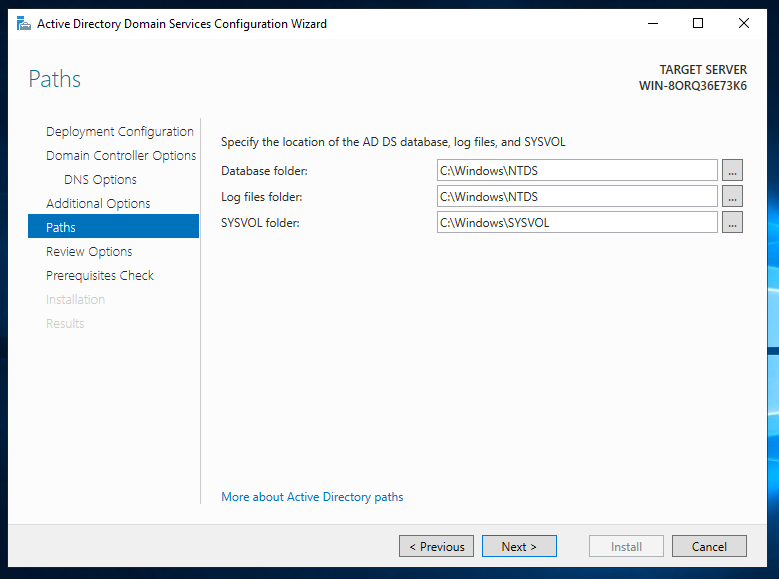
Click Next.
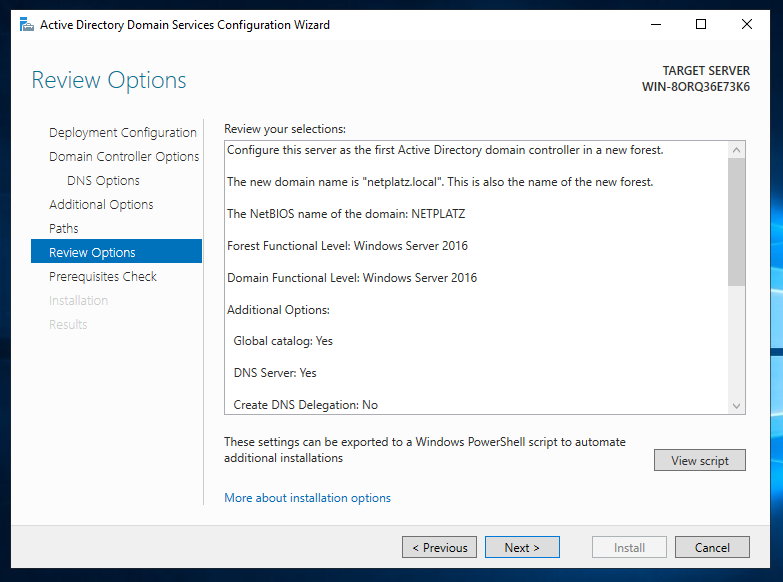
and click install.
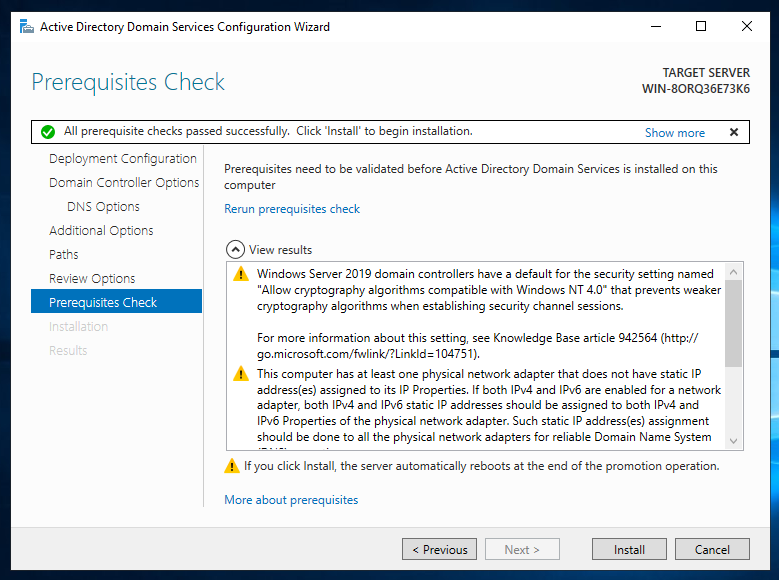
Note: The Server reboots itself.
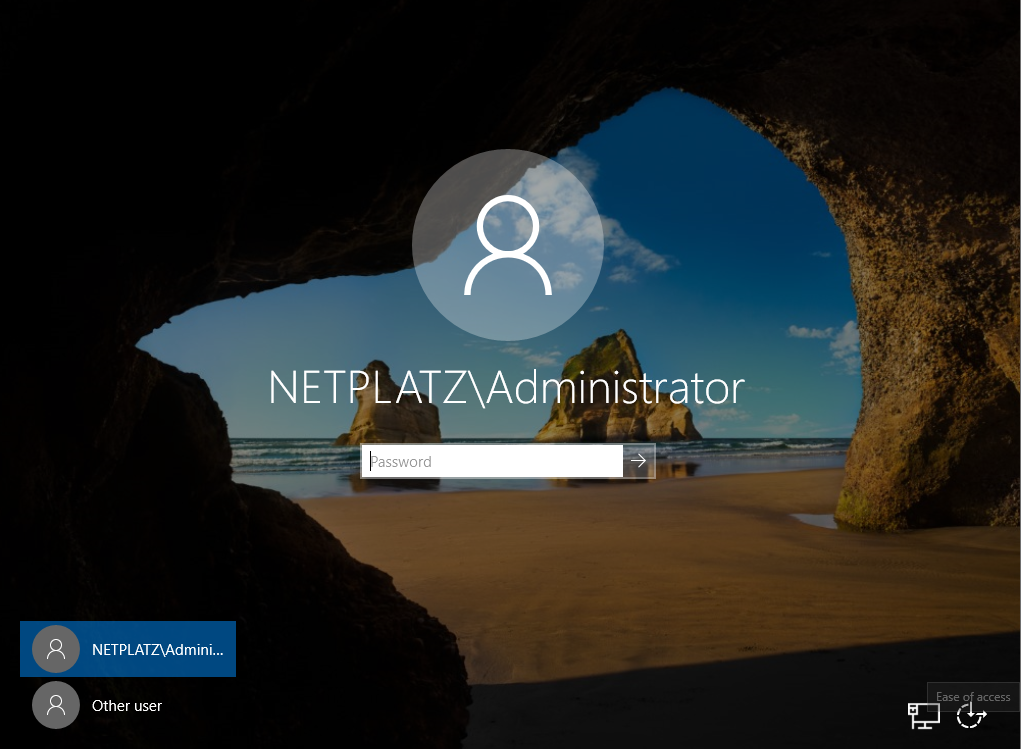
We login again ... but this time we see the domain\user
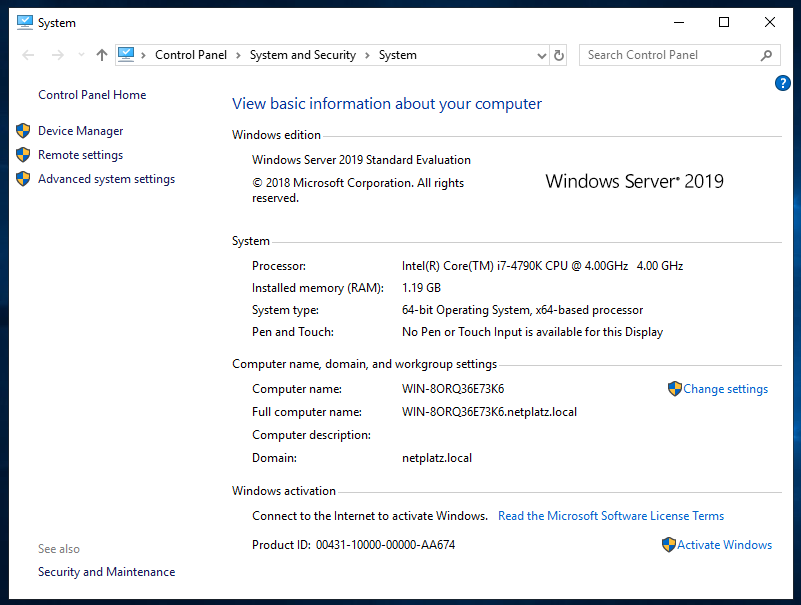
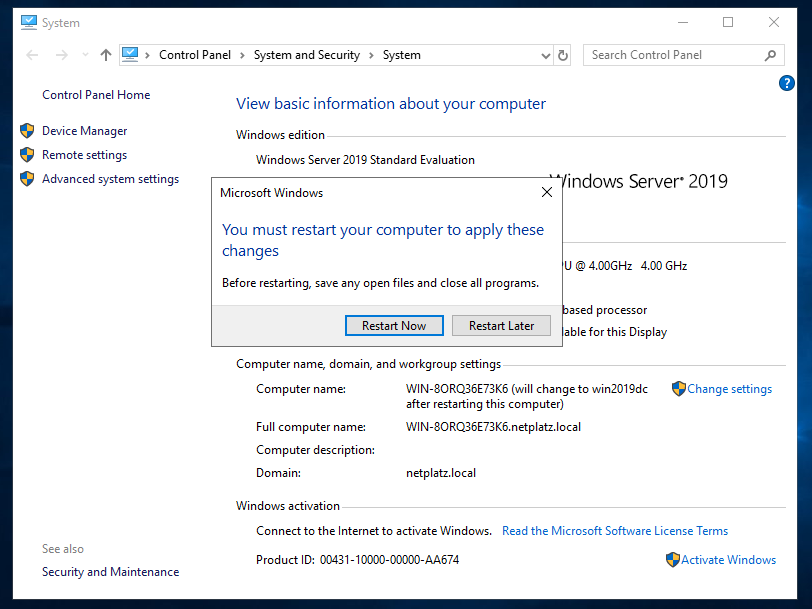
So now if you want you can rename the hostname.
Go to Control Panel -> System and Security -> System and click on Change Settings.
Add a computer name
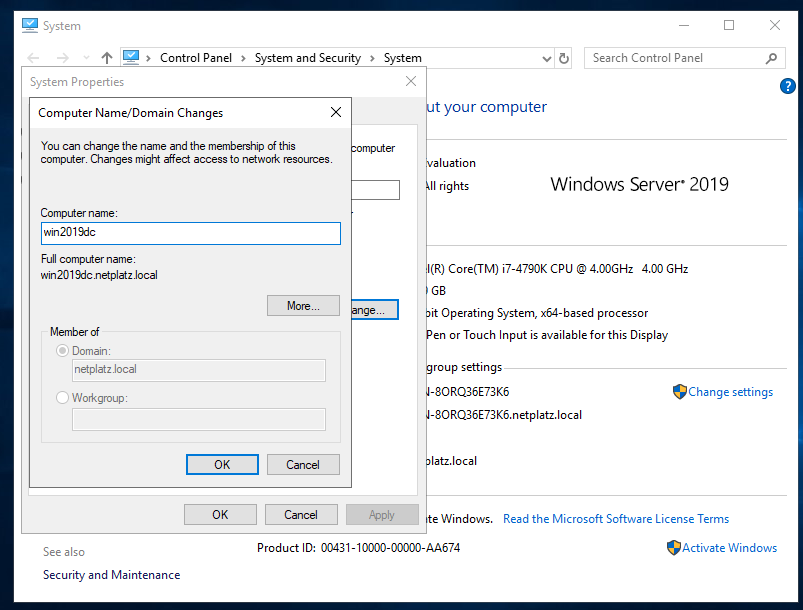
Click OK.
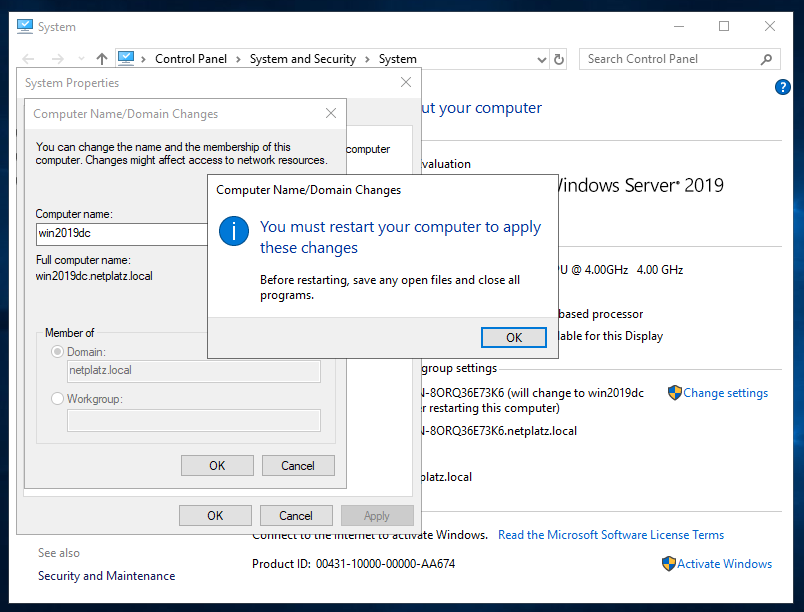
and reboot later.
so the network can be configured. Go to Go to Control Panel -> Network and Internet -> Network Connections -> Properties.
Click on IP Version 4 (tcp/ipv4)
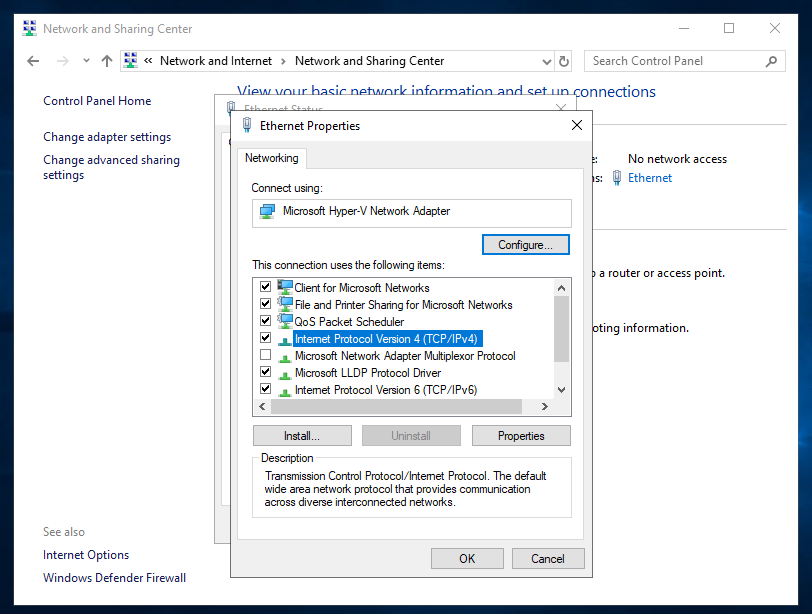
and use the IPs below.
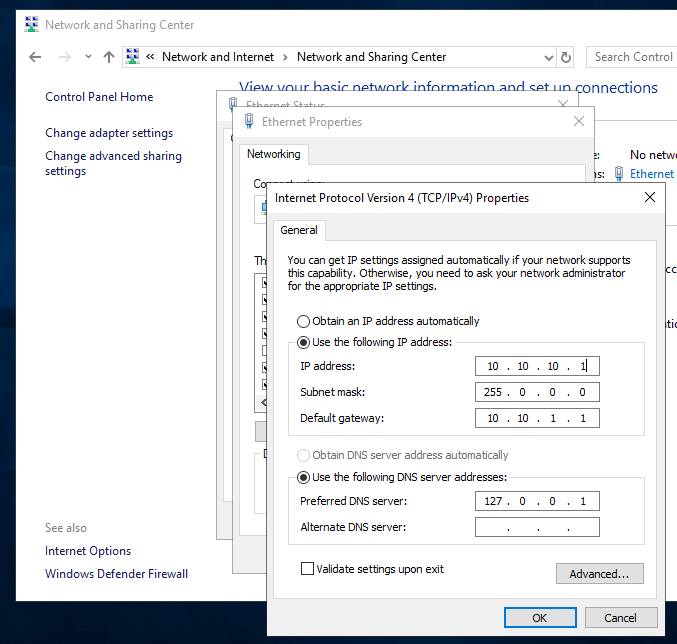
and that will conclude the configuration of the domain controller (DC).